

Wood Floor Fixed After Roofer Leaves Bad Drum Mark
- Home Case Studies Wood Floor Fixed After Roofer Leaves Bad Drum Mark
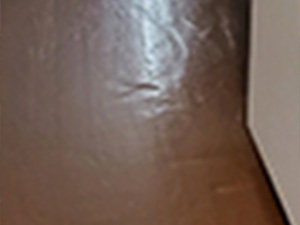
 Here you see a bad and deep drum mark "divot" left by the drum sander
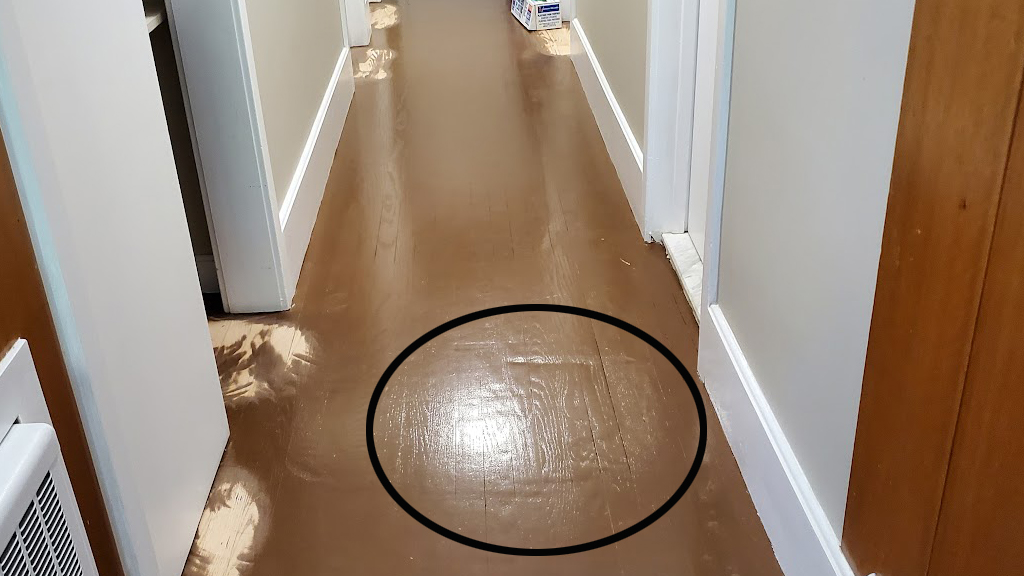
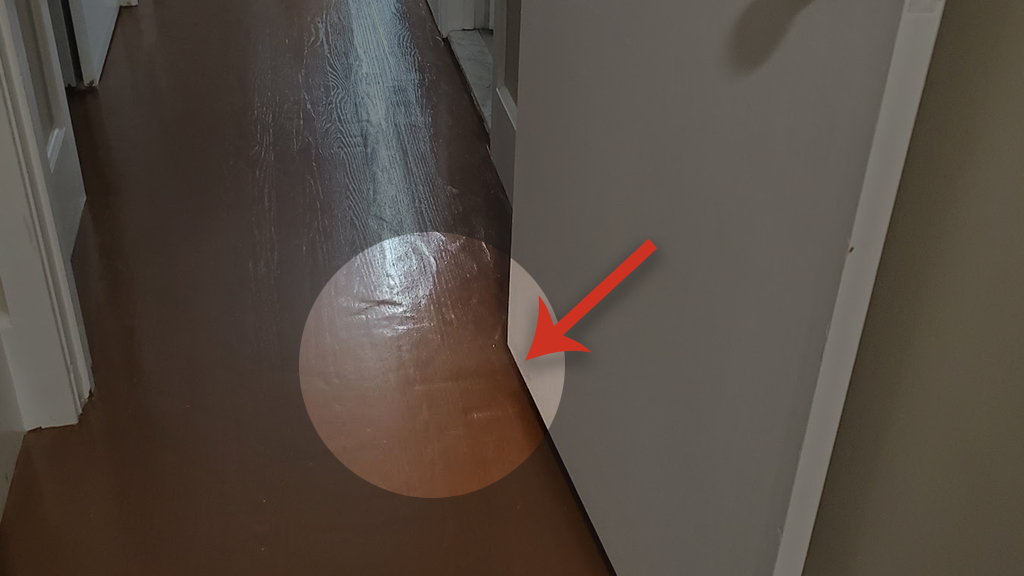 Faint but deep drum marks at the pivot point in the hallway (likely place for them)
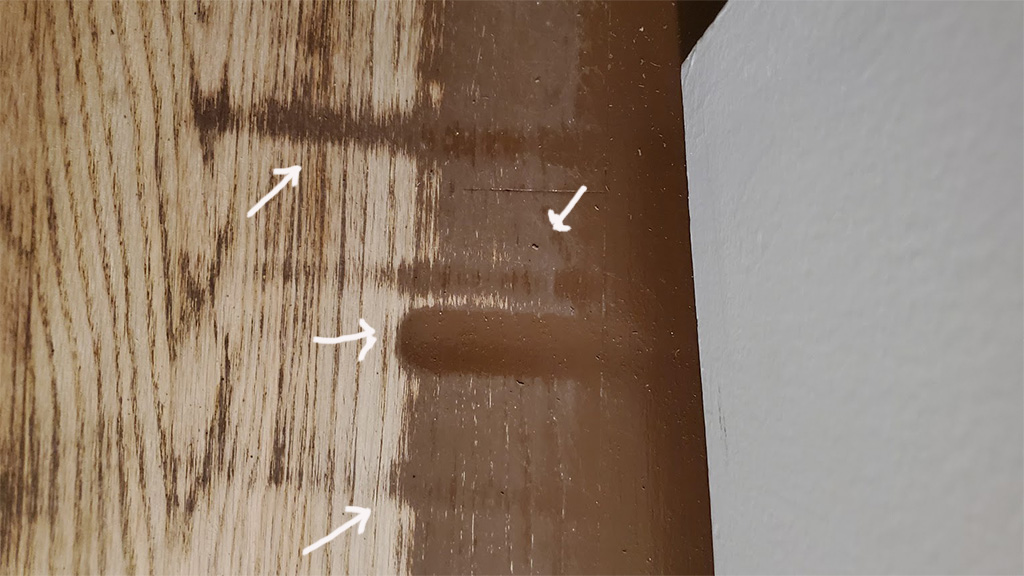 Here 4 of the drum marks remain after the 1st sanding (none of these should be here)
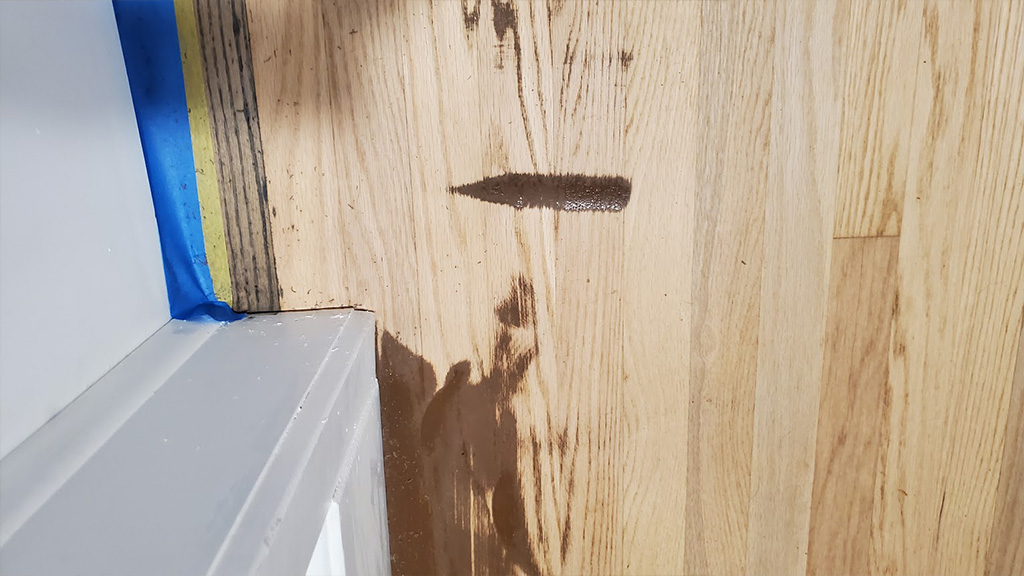 Instead of replacing the affected boards, the drum mark is disappearing and will be gone when we are done
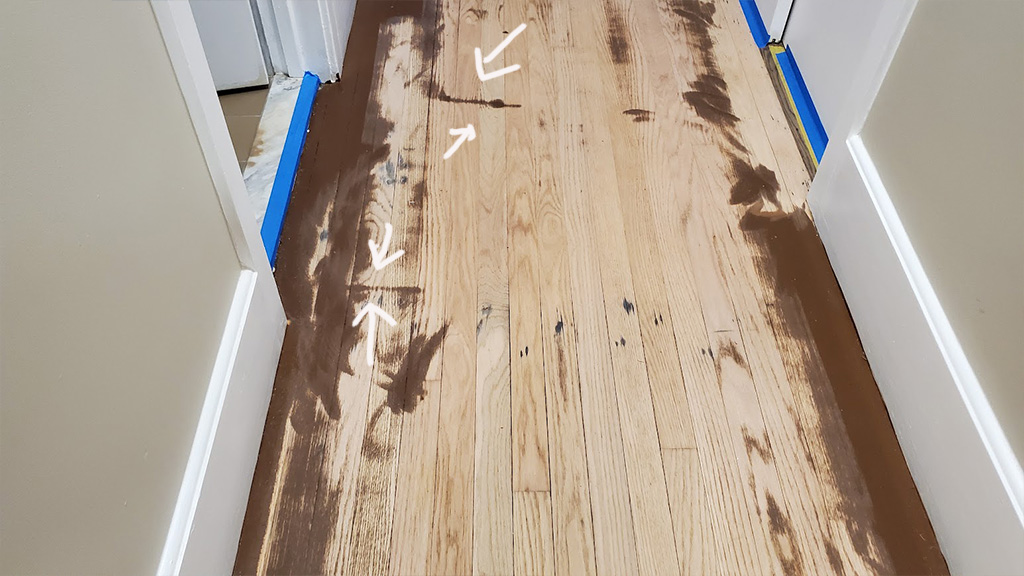 Thrilled that even the deep drum marks will be gone when we are done resanding this hall
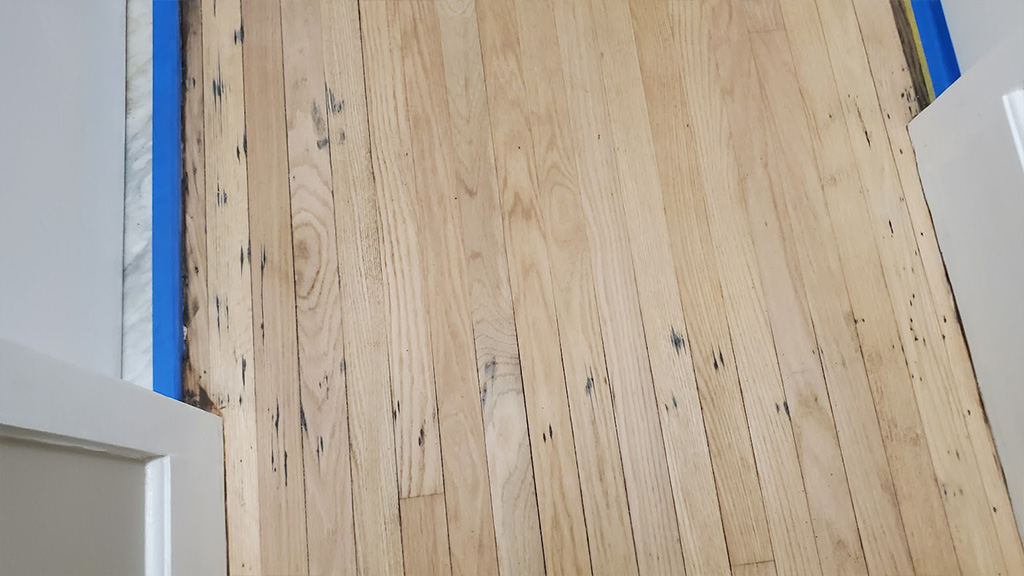 The deep drum marks are gone, and the clients chose to live with the remaining iron marks
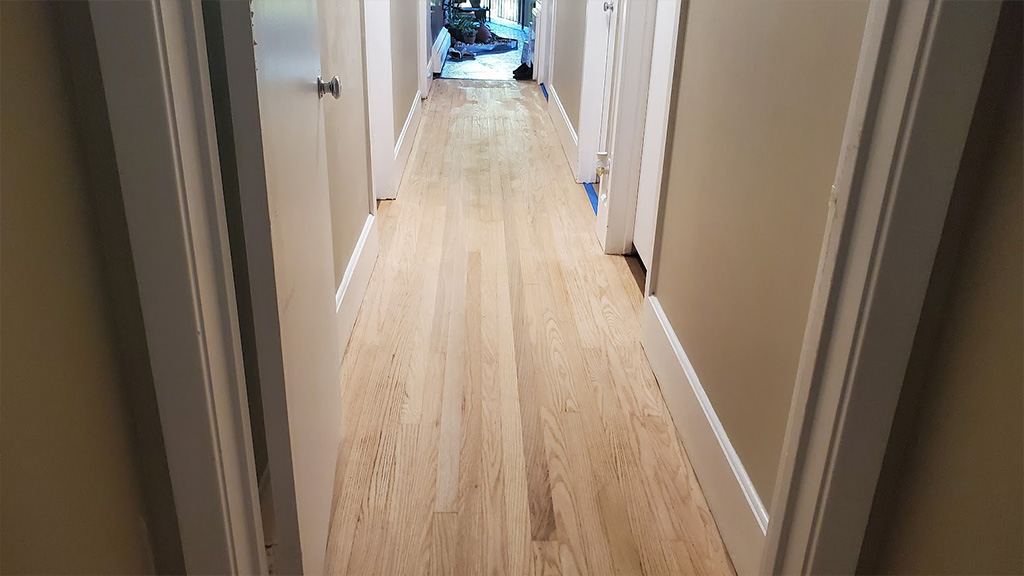 Lightyears ahead of where we started, this hall is ready for stain
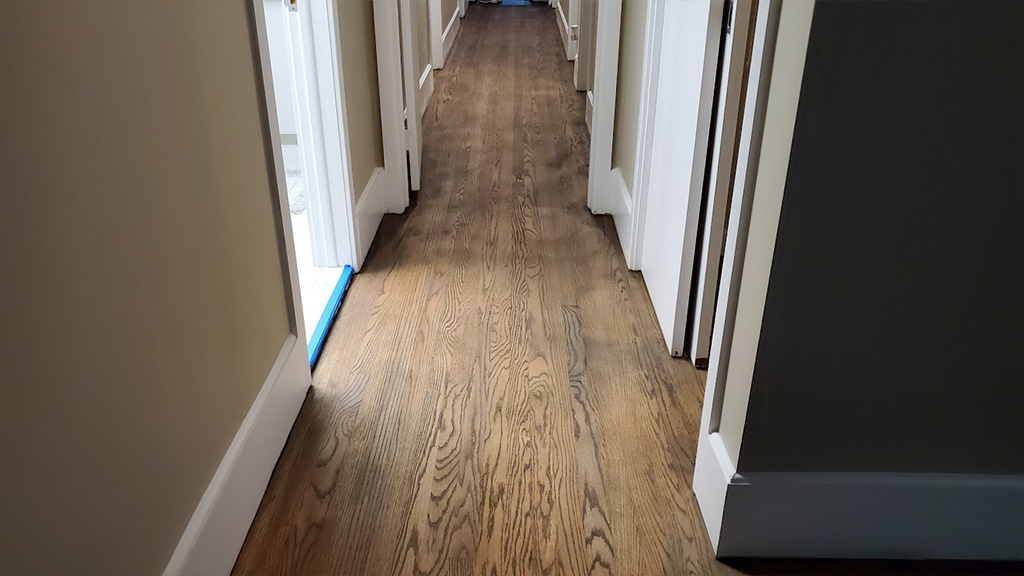 Not perfect, but light years of improvement of this resanded & stained hallway
 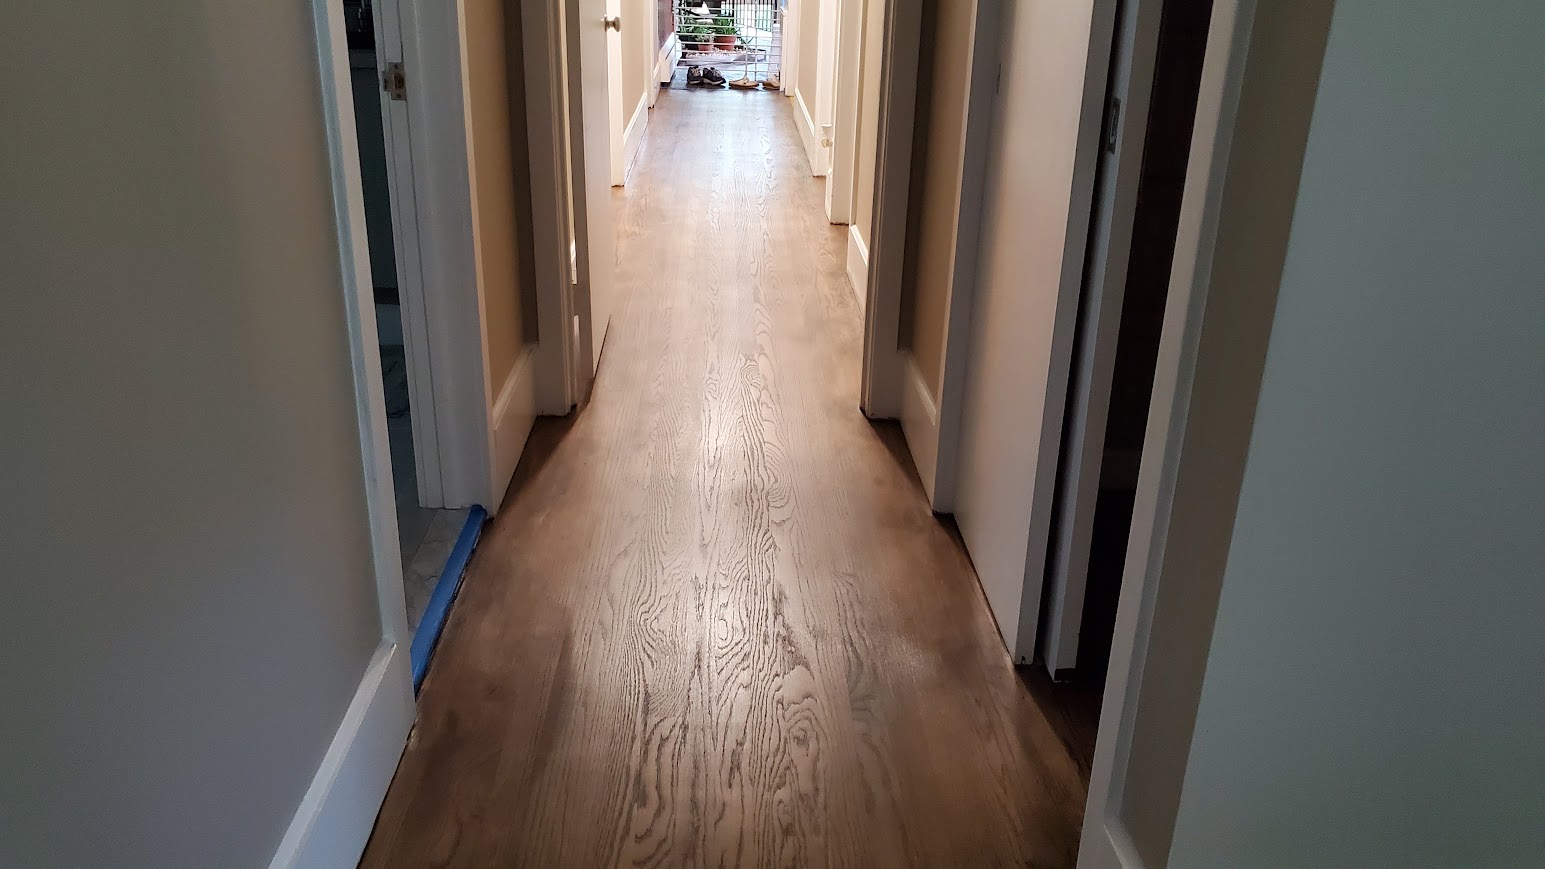 This is a huge improvement of this resanded & stained hallway, the opposing view
 Not perfect, but happy the horrendous problems are gone, this floor looks much improved
- Location Residence in Morrisville (Yardley) PA
-
Job:
Fixing a hardwood floor botched by a roofer
The botch
An overall tee up of this delicate situation- Don’t hire a roofer to refinish your hardwood floors! Client’s hardwood suffers major traumas with refinishing. The roofers should be shot! (Sorry, can’t sugar coat the problems caused by this company. Normally I would not ever call out a fellow contractor out like this.)
Drum marks are the focus here.
These are rookie mistakes which leave a lasting impression on the hardwoods as a reminder every time a person’s eye catches them. And this floor does not disappoint, the drum marks are everywhere.
Choosing convenience without confirming experience could be haunting, as it was for these folks.
Kind of like asking a proctologist to perform cardiac care procedures. Having a roofer refinish hardwood floors with no experience is a mistake. It is ripe for disaster. Certain projects need experienced professionals. Refinishing hardwood floors is one of them!
“Their hardwood floors were screaming “no more beating from the drum, please!”
The cause.
About the shape of a cigar, similar in length but a bit wider they are caused because the drum (a round heavy rolling pin like part of the machine with an oval sanding belt running over it against the floor at about a 1000 miles an hour) is engaged while the sanding machine is stationary. They can be found in wide open areas, or in tight spaces.
They are caused by:
- engaging the drum down on the floor before the machine starts moving
- stops in forward motion of the machine. Typically found in place along a wall, near door casings or tight corners
To describe the botch even further.
Drum marks develop when the drum lever is moved to drop the drum and engage it down on the floor. Dropping the drum down (because it is aggressive like being bludgeoned by a beast), the 300 lb sander overpowers the floor and hollows a dip or divot under it.
They also are deposited when the drum sander is turned along wall edges.
Although magnified the divots are out of focus, you can see why the clients were unhappy. To add insult to injury the darkness of the hall, and the chocolate milk color of the floor made these and the other drum marks hit you square in the eye every time you walked down the hall. (And being it the main hall to all their bedrooms that was pretty often!
When the machine has to be turned, the slowing of the cadence or stride will also result in depositing a drum mark (and certainly did).
On this job, every close cut near the wall, and near door jams in the hallway there were divots made. Also, as the machine got too close to the wall and it had to be moved where doorways opened up the sander hit the trim developing more divots. Only taking a split second to create, divots upon divots were deposited and graced the floor everywhere!
There were so many drum divots all over the place.
and many were made on top of one another too. But not only the number of them was an issue, the depth of the divots deep into the wood floor surface was also troubling. If we sanded the floor in a normal fashion and progression with the sanding paper “schedule,” it may not be enough to sand out the divots. So the flatness and the integrity of the floor may be deeply compromised.
When this happens the remedy and fix is done by replacing the damaged boards.
But doing the math, with some many all over the place and on top of one another, there comes a point in concluding that replacement is too cumbersome and costly. It might come to the point of throwing in the towel and recommending that the entire floor be replaced. (Which for this job we couldn’t tell until we started the re-sanding, and left it with the clients as a “TBD.”)
With fingers crossed we informed the clients we’d have to dive into the project to determine the way forward in fixing the floor!
Namely again I was referring to the one major one in the middle of the bedroom hall. And secondly, I was also concerned with the two near the hall-bathroom door jams and near the hall closet.
The result
As the sanding started the divots all but disappeared. Only but 1 gave us a fit. But determining if the boards needed replacing wouldn’t be answered until all the grits of sanding were done. With a possible chance, this floor may cooperate, and it did.
Secondly, the horrible chocolate milk appearance was erased too. The raw wood reappeared and the grain was revealed too. Eventually, as did happen, the stain would add color to the floor. And, the grain would be enhanced precisely once professional staining and refinishing was completed.
All in all the heavens spoke and the floors were fixed.
We had no major replacement expense. And with having to have all the floors re-sanded, paying partially for them being done twice it was music to our client’s ears!
This was another hardwood floor refinishing botch fixed!
To learn more...
(This has been a long haul, with many moving parts, so if you want to learn more about all the issues click below):
- How the problems began how this began, click here →Roofer Regrets Refinishing Hardwood.
- Then see how the stain choice helped camouflage some stubborn pad stains lick here → You Guys Crushed It!
- To see full throttle how the main stair repair played out click here →A Step Up For The Stairs (and how they were fixed)!
- Then another hardwood floor issue, here is how we resolved a chronic pet urine problem for them. Although not part of the original scope, these pet stains from the former owners were discovered when the clients had a water damage flare up in their basement. Click here→ Badly Stained Pet Urine Hardwood Floors Fixed After Water Damage Forces Carpet Tear Out.
- In general, to learn more about our hardwood floor refinishing click here → About Our Hardwood Floors Refinishing and Repairs.
Only thing left at this point now was the “Stringer Project!”
With all the major areas now refinished, the only remaining part of the project were, and are the stringers. Guess you could say we have left the best for last!
It is no joke that sanding the stringers will take some ‘cussin and a fightin’!
To explain, the location of them, and access to them is very limited. One has to be very short (as Marvin happens to be), but also a contortionist. And actually he will also have to work lying on his belly to get to the lower parts, like pictured here to the right!
And for most if not all of this work, specialty tools and hand work will be required. So this majorly involves all hand work, and probably only done by someone who really cares and will put themselves in strange positions to do so.
If your hardwood floors have suffered refinishing trauma (drum marks, edger digs, stain or sanding problems) we can help! Hail Mary consultations and free estimates. Call us at 609.953.0472 or CONTACT US on line.