

Vintage Quartersawn Red Oak Floors Gorgeously Revived
- Home Case Studies Vintage Quartersawn Red Oak Floors Gorgeously Revived
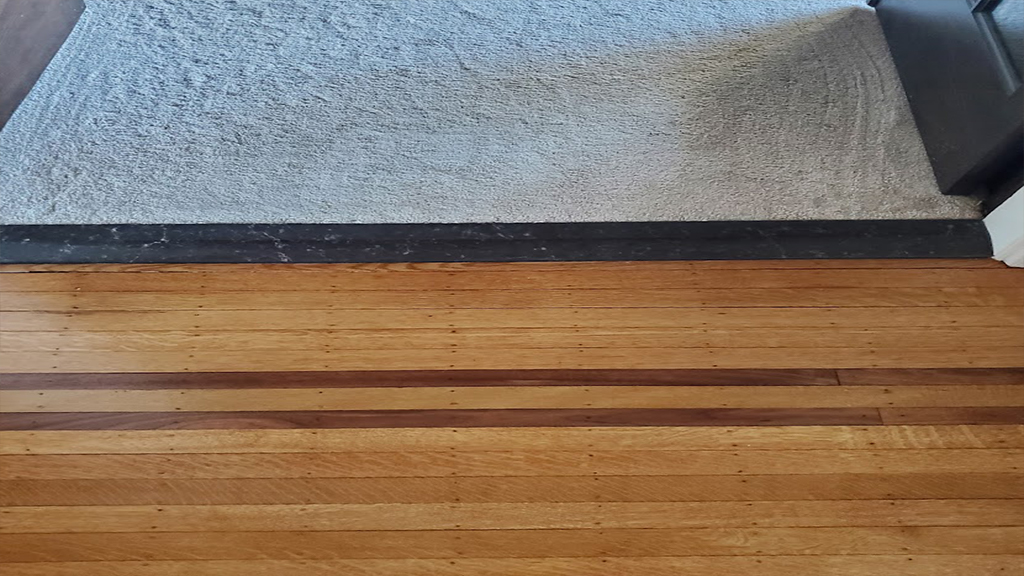
 This floor finish is old and amberized and awaits a new finish to be applied soon
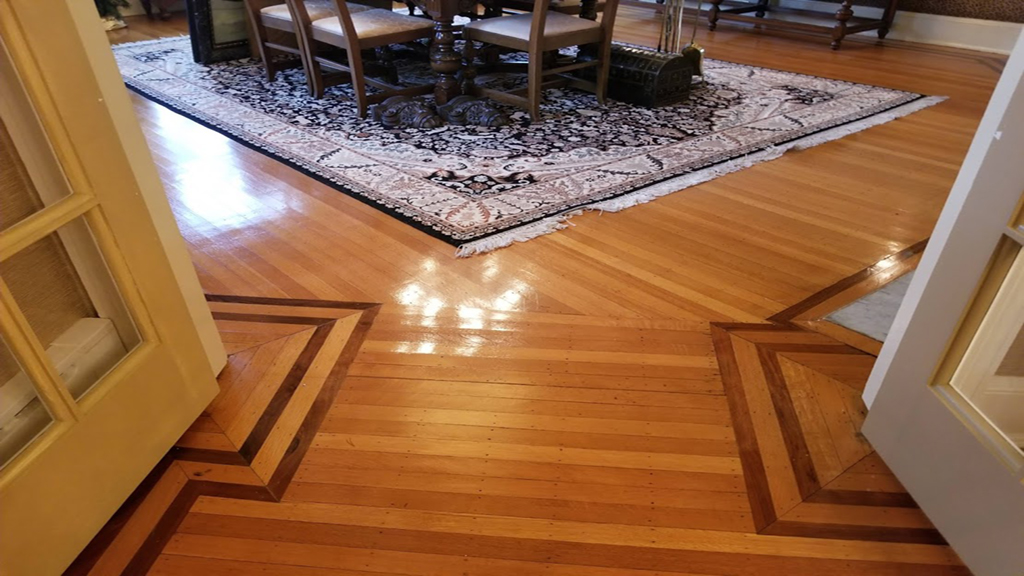
 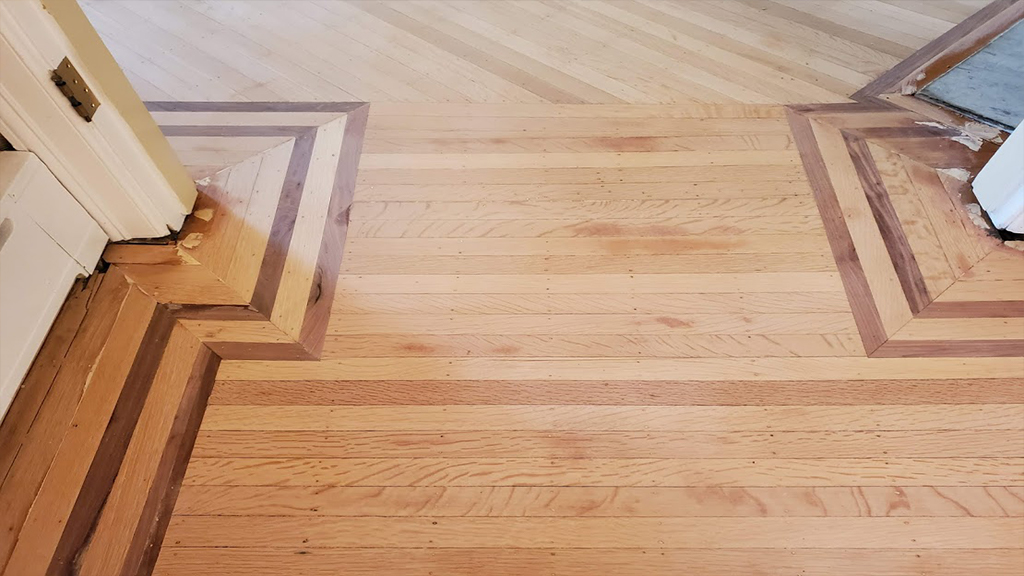 After repairs and refinishing this gorgeous floor commands attention
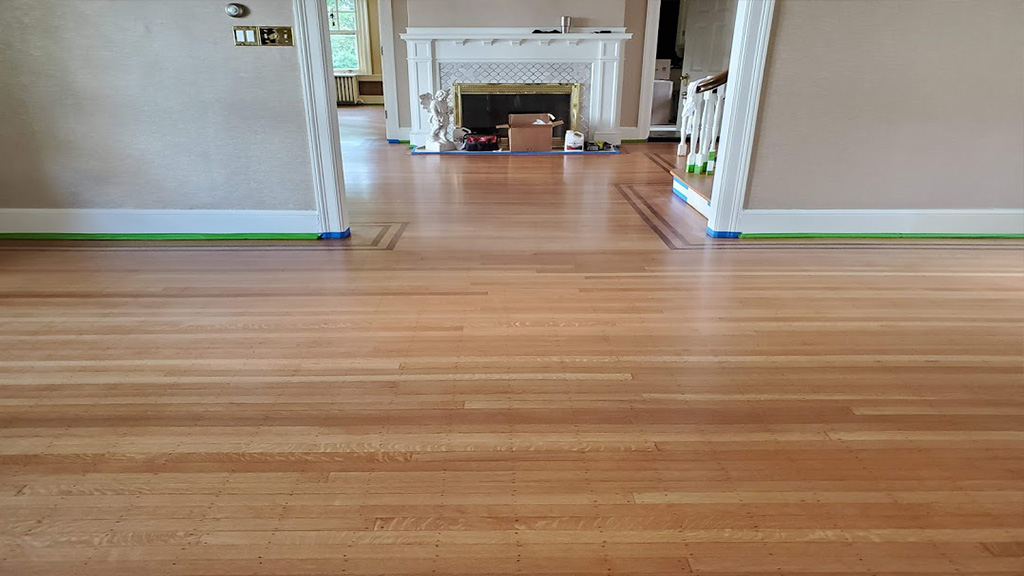
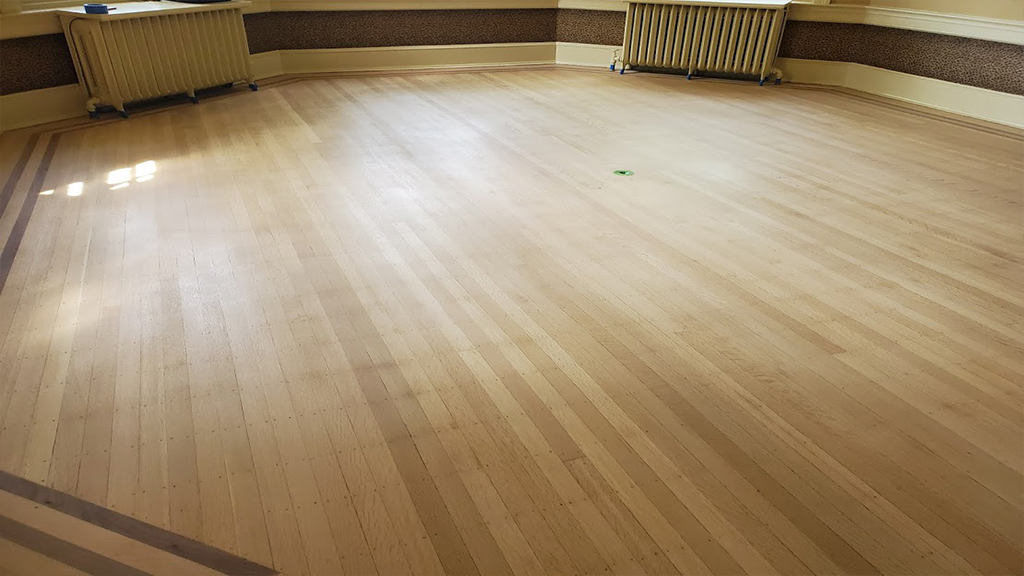 The dining room is repaired and sanded ready for stain
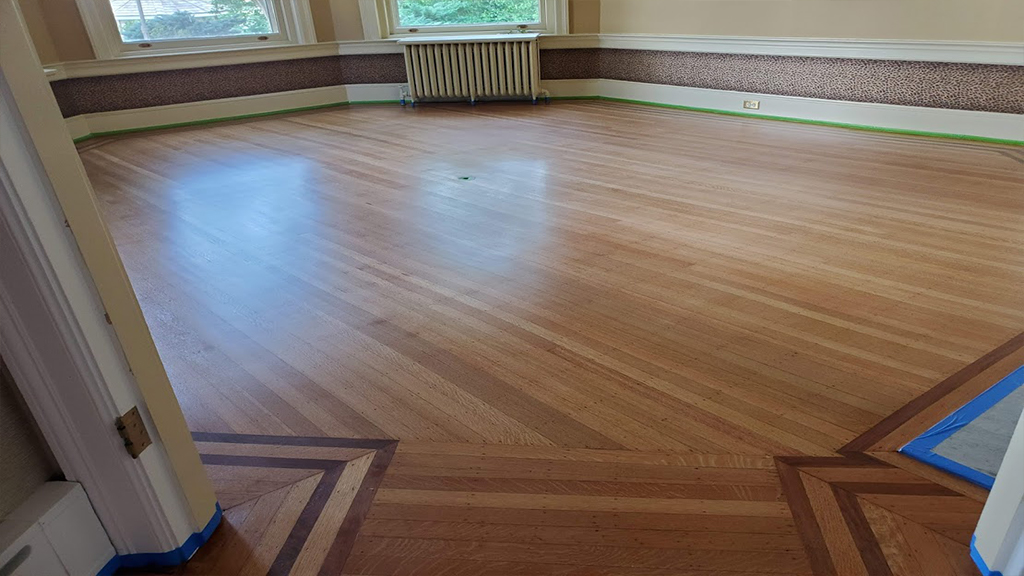 Here is the dining room all freshly repaired, sanded and refinished, this floor is magnificent
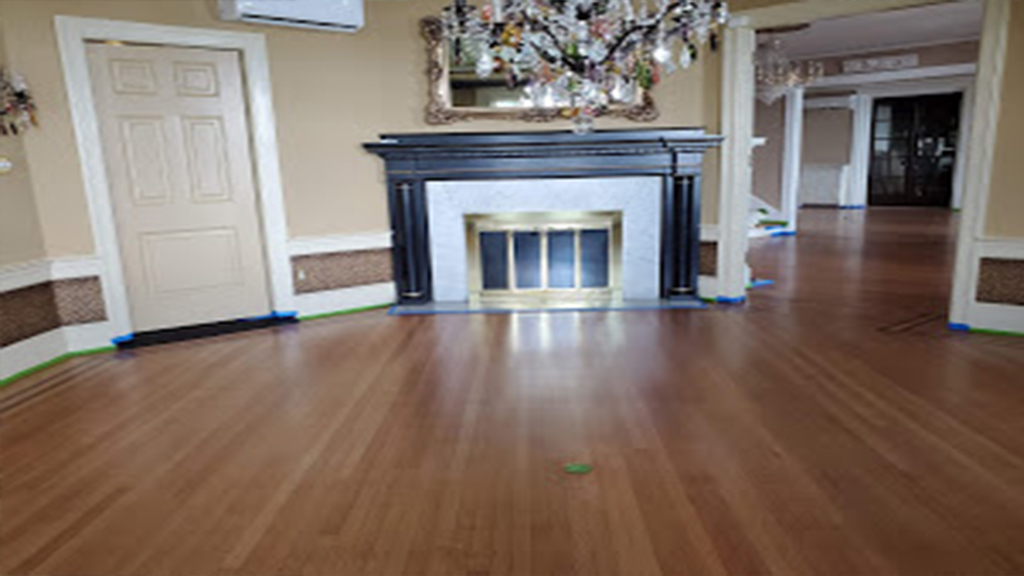 Opposing view of the beauty and brilliance of this newly refinished dining room floor
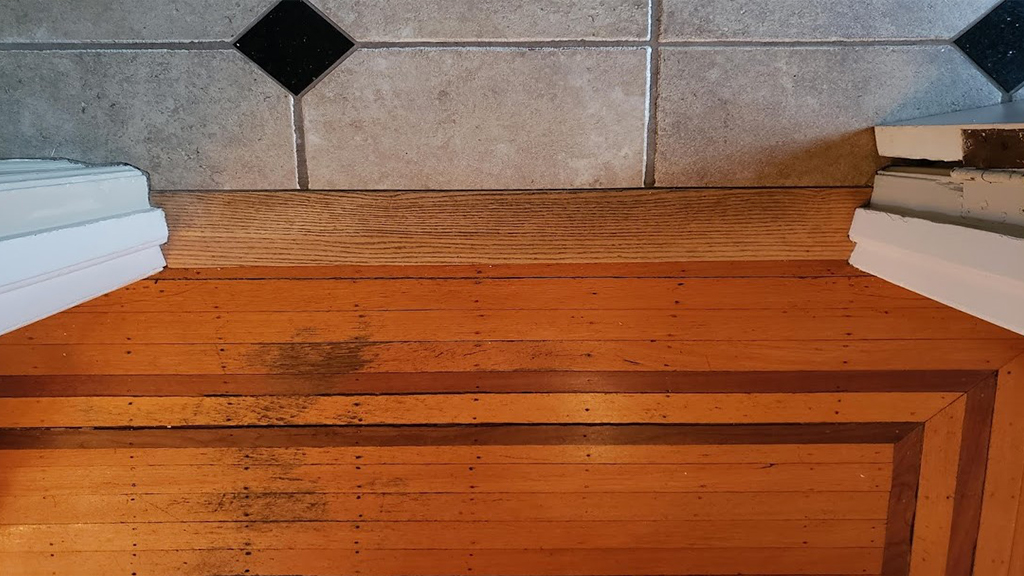 Here you see the wear on the red oak floor, this is the butler pantry area that the owner wanted fixed
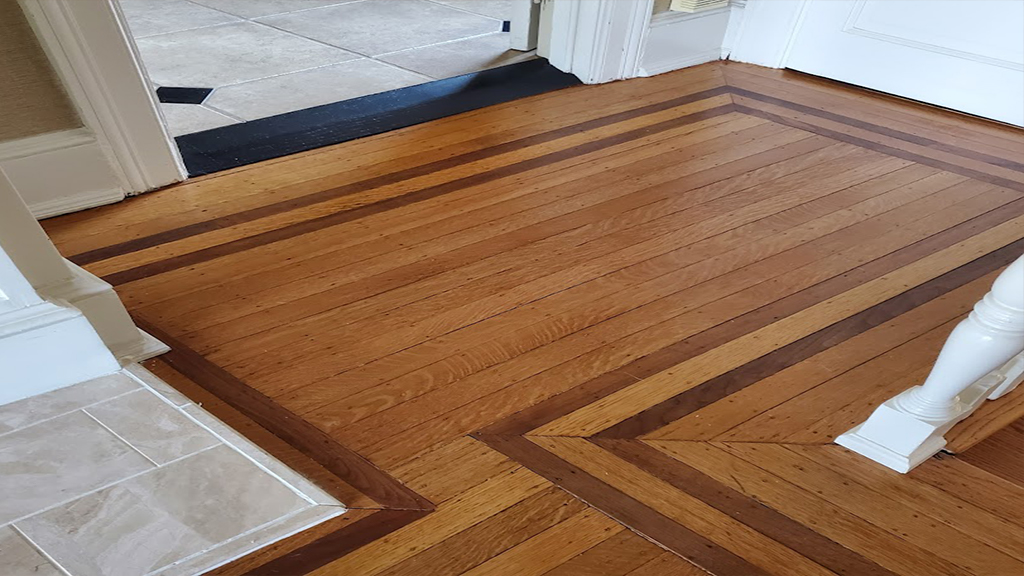 After the repair, sanding and refinishing the worn spot on the floor in the butler pantry area is gone
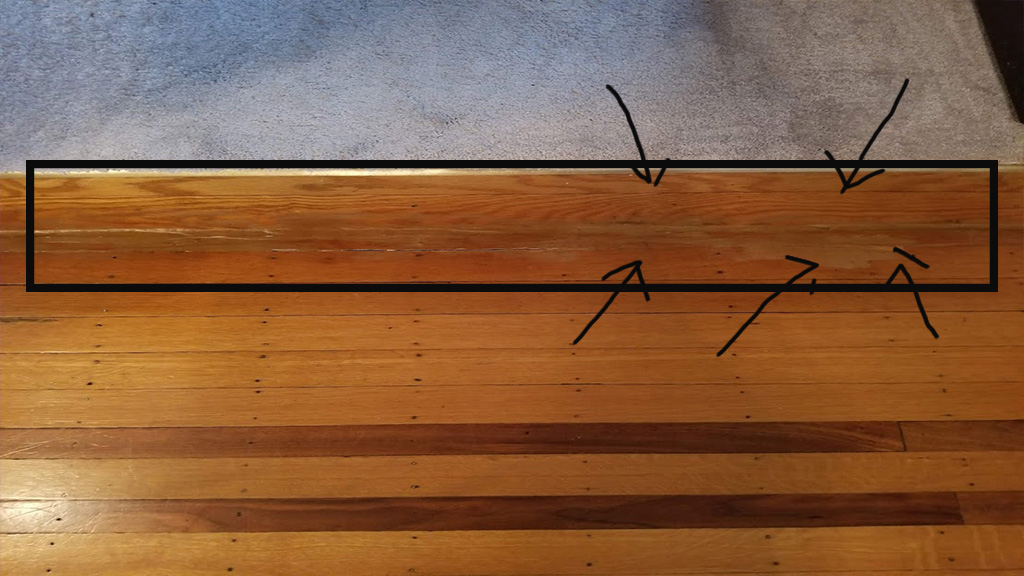
 At last the owner no longer has to stare at that ugly putty botch in the high traffic transition to the family room floor
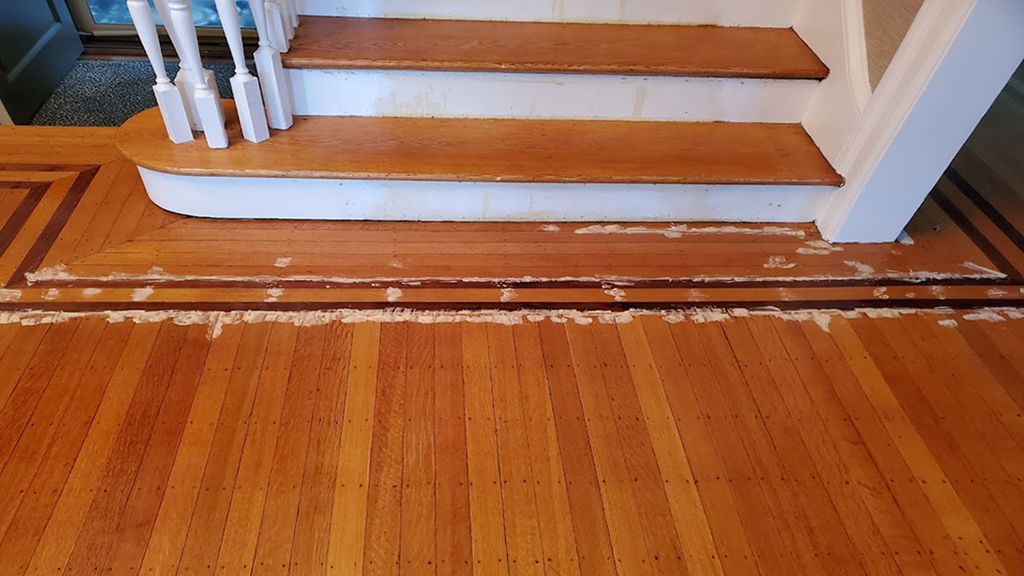 Although putty is used the mahogany accent stripes were turned eliminating the visible worn edges
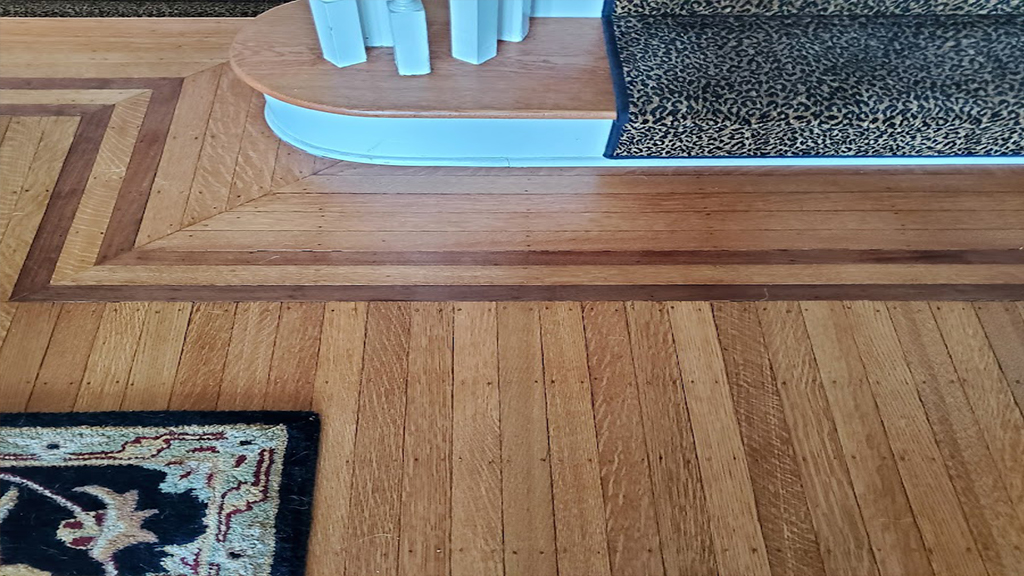 Instead of wear or unsightly visible putty, flipping the mahogany accent stripes fixed the worn look perfectly
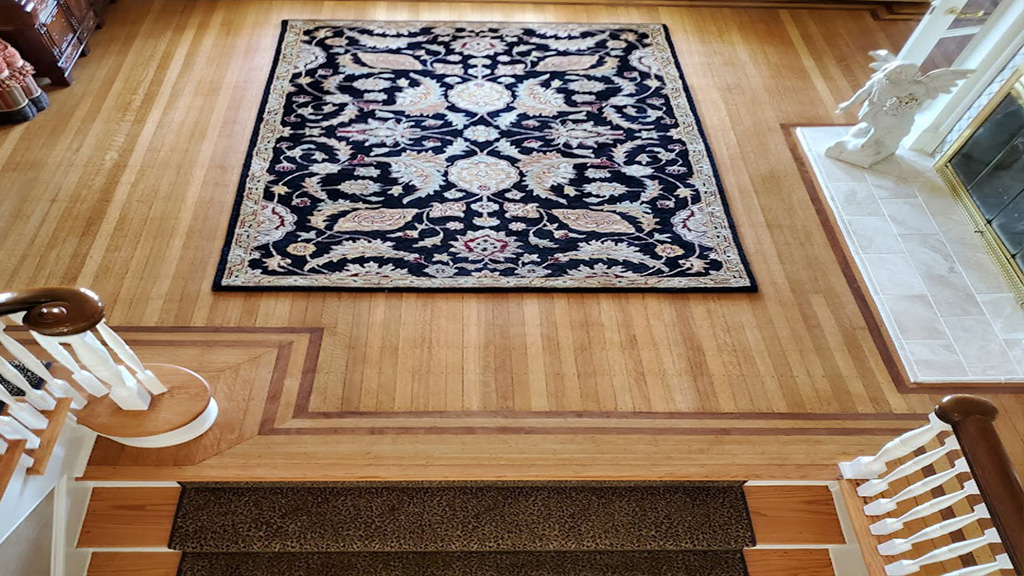 Instead of that orange amber finish, this floor now has a fresh look after it was refinished
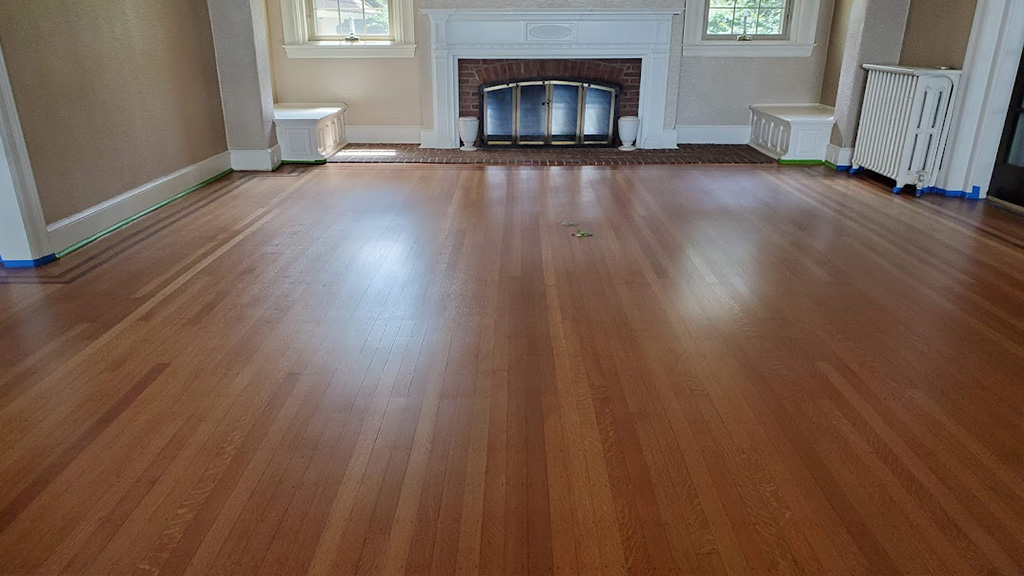
 Compared to the aged ambered appearance this floor is freshly finished and gorgeous once again
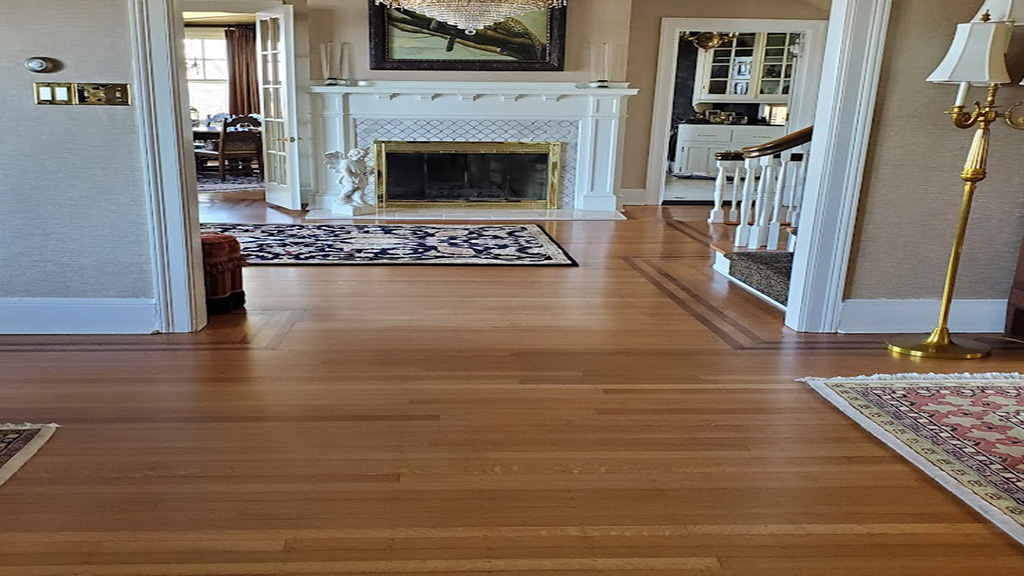 A far cry from the orange amberized finish, this floor is freshly refinished and beautiful once again
- location Riverfront Mansion in Riverton, NJ
-
Information:
Vintage Hardwood Floor Restoration / Preservation
Successfully refinishing the library, clients proceeds with their main living level vintage wood floors.
Testing us out, our clients were pleased having just had us restore their one room of 150+ year old vintage pine in the library of their Riverton Mansion. (To see about this project click here to see how we fixed and restored that vintage pine floor for them.)
Validating that our work is of craftsmanship quality, they hired us to do their main floors, that are quartersawn red oak with mahogany accents.
The objectives
They had a fair amount of repairs to be done first. Some were handled as mini projects first, while others were done with the full on sanding of the main floors:
- Mahogany inlay repairs (tackled first). which we repaired first you can read about here.
- Fireplace hearth leveling- we had to grind down and level the edge of the masonry where it joined against the wood floor boards. It had excessive concrete that was disheveled.
- Removing inappropriate fillers used by a handyman to repair a couple areas. The filler looked off and annoyed the owners.
- Wear was removed near the entrance to the kitchen (through the butler pantry). It showed major fatigue, where both the oak looked bad and the mahogany accent edges (where the crisp edges were worn down).
- Trampolining was fixed. This is a condition where the floor is not sturdy and supported. Instead it bounces when walking on it, so the area underneath had to be opened up, supported and stabilized.
- The mahogany accent stripes by the landing of the grand staircase needed serious clean up. The edges were worn down, there were gaps that the owner particularly wanted fixed. Here the owner specifically wanted those boards replaced.
- Various voids were requested to be fixed, not just filled or plugged with a dowel.
- Other boards were needed to be replaced. Some would be vintage material, others getting covered with a new runner would not.
- A few marble transitions would replace the worn wood ones, in high traffic areas. This would dress them up and with stone better able to handle the intense wear and still look good.
Vintage wood was sourced
Some vintage wood was needed, so we had to source them from a vintage dealer. Vintage dealers de-construct rare materials and inventory them for resale, for a pretty penny. They literally take apart materials, in this case, board by board. And for our purposes we not only needed a similarly aged red oak, we needed it milled just the way the other boards were milled. Using anything less would create an eyesore (and by this time it should be noted, that would not be tolerated)!
Sanding was next, then stain and finish completed the work
The bulk of the work after all the repairs began with extensive sanding. All the areas were sanded according to industry standards to assure a flat and smooth surface. In fact the floors were all sanded about 5 times with our main sanding machines, but then our finish sanding machine. (Very few, and especially the budget refinishers don’t have this machine nor do they bother to sand the floors to this degree.)
The homeowners picked a color close to what the boards color had aged to. When the stain was applied the homeowners instantly fell in love with their floors. Next the sealer and finish coats were applied. With every coat the owners became more excited, viewing the pictures sent to them as they stayed away during the bulk of the project.
The results
Upon entering, the foyer and entrance welcome you, and now the floors and opulent architecture are restored. Especially beautiful, the grand staircase now commands the regal attention it deserves, and precisely what the homeowners wanted!
Giving them exactly what they wanted, these homeowners are again reminded why they fell in love and made this ‘to die for’ mansion their home. A thirty year love fest, money well spent and a labor of love to show for it, this home is magnificent!
It was an honor to be entrusted with this opportunity to demonstrate our craft and passion for hardwood floor restoration. Leaving no stone unturned every detail was carefully crafted, and given the nuance it needed.
Well Done!
What our designer friend and clients had to say…
Designer, Claudia Affannato- “These guys outdid themselves restoring these floors. They look brand new! And with the other subtle touches we added everything will look good and serve them for years to come!”
Owner Lisa- “We love our floors! I can’t believe how they came out. Every request was met, and the results have exceeded our expectations!”
To learn more…
- about our hard wood floor refinishing basics click here…