

Last Refinishing Fixes Most Of Buyer’s Wood Floors
- Home Case Studies Last Refinishing Fixes Most Of Buyer’s Wood Floors
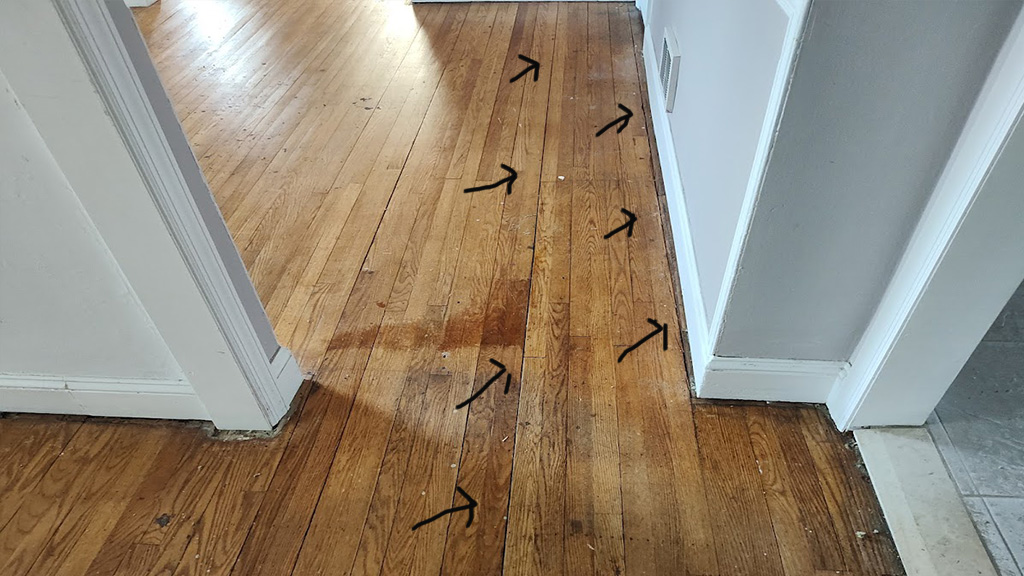 As part of the refinishing these boards will be replaced
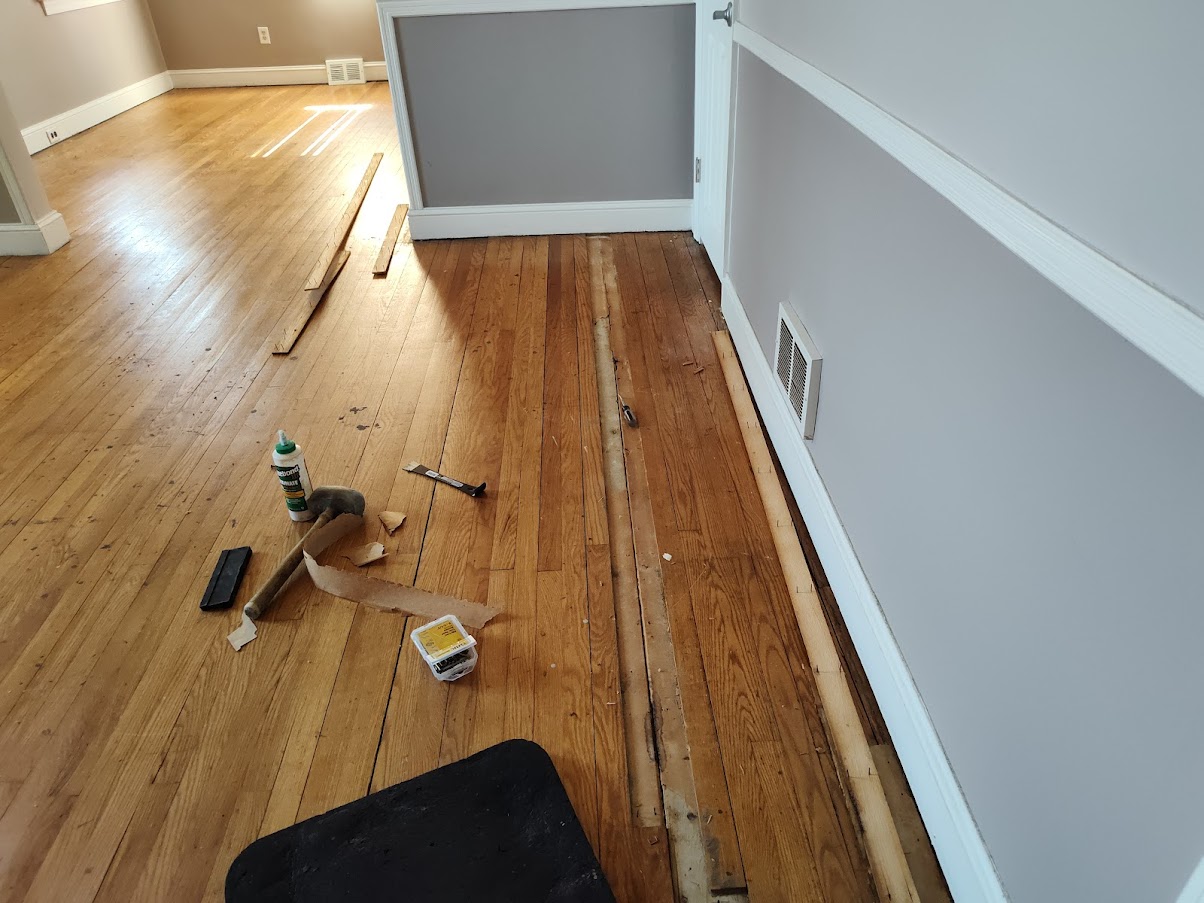
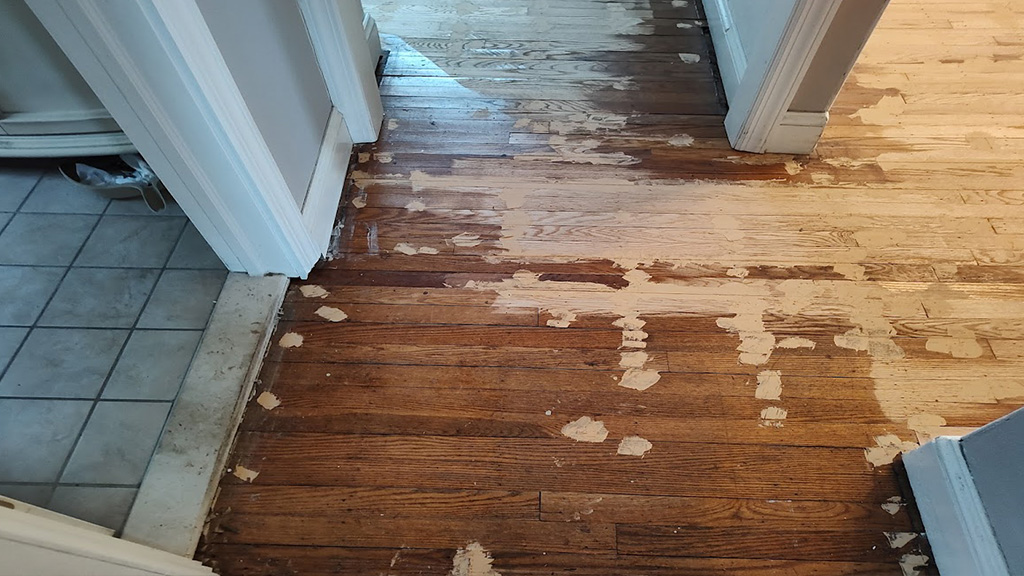 Putty is used to fill gaps and holes, and eventually gets mostly sanded off
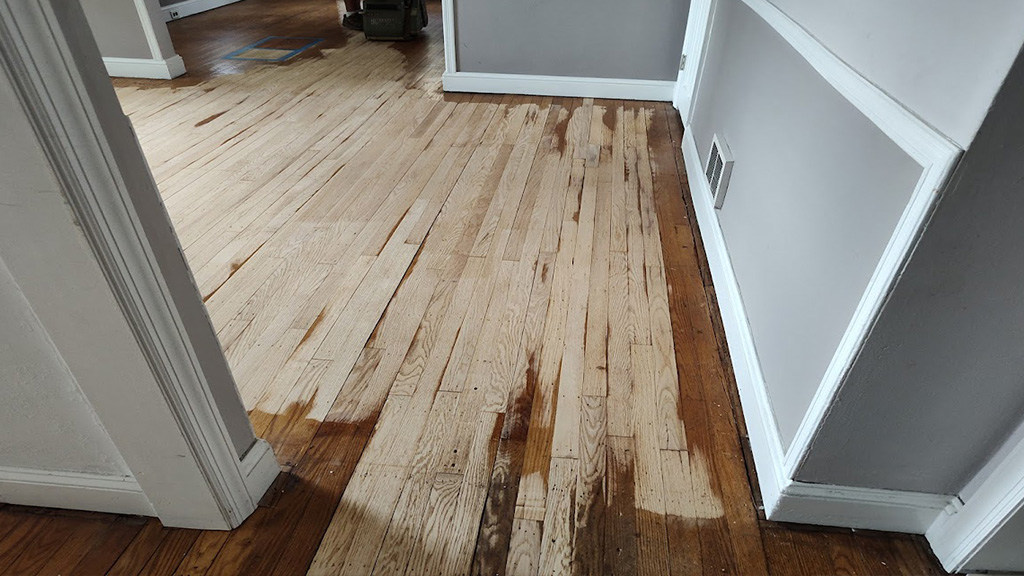 Here the sanding has begun, but not finished. We also decided to replace the lst board against the wall, it looked ratty as is
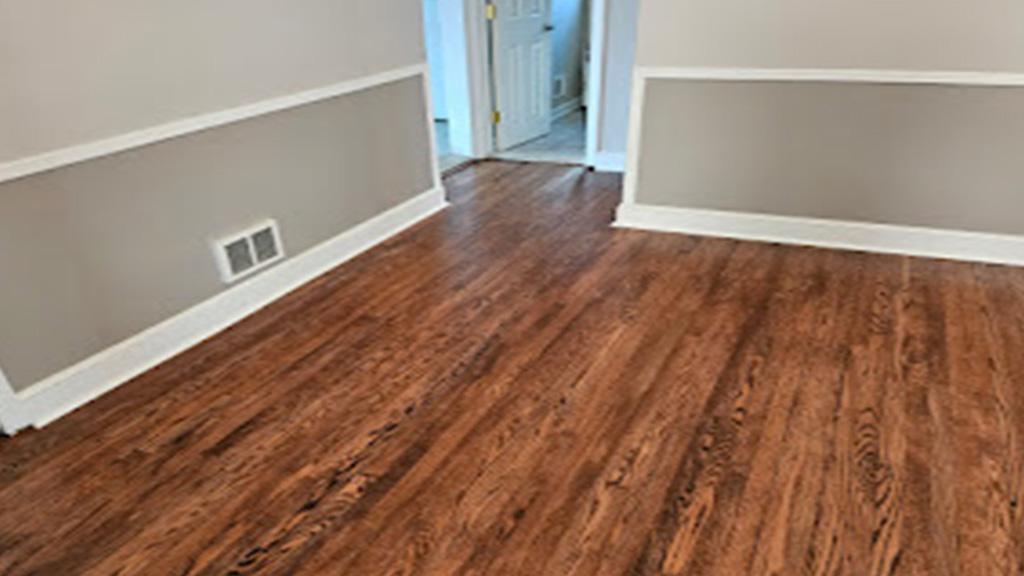 This floor looks light years better than when we started
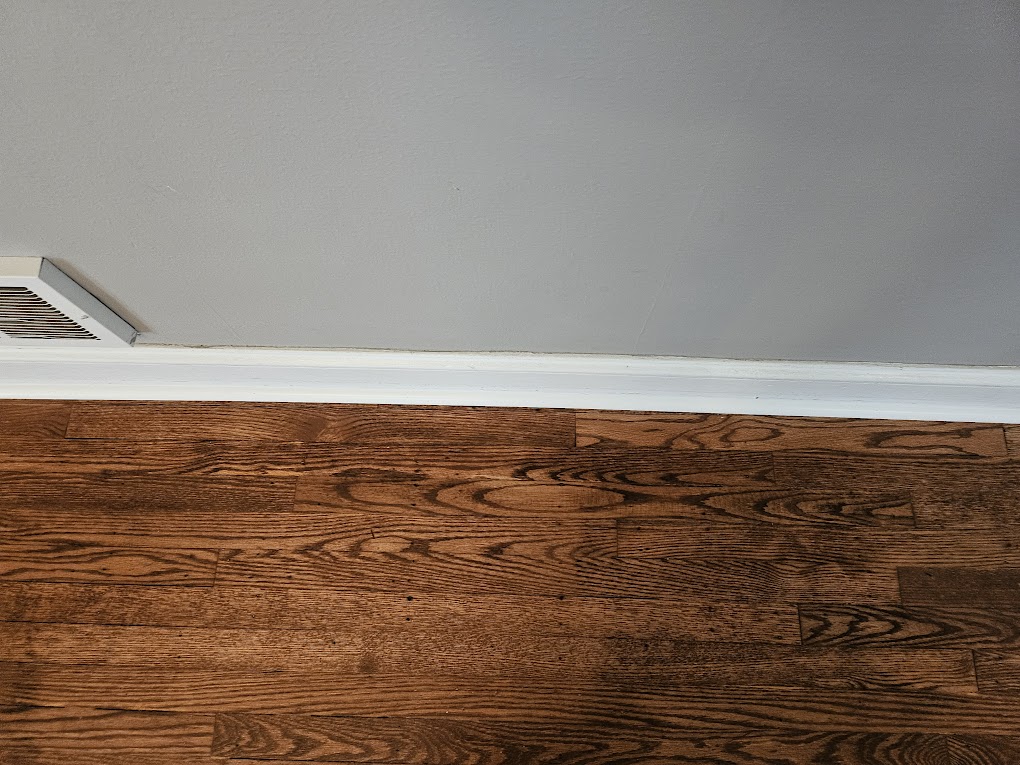 The dining room looks much better when we were done
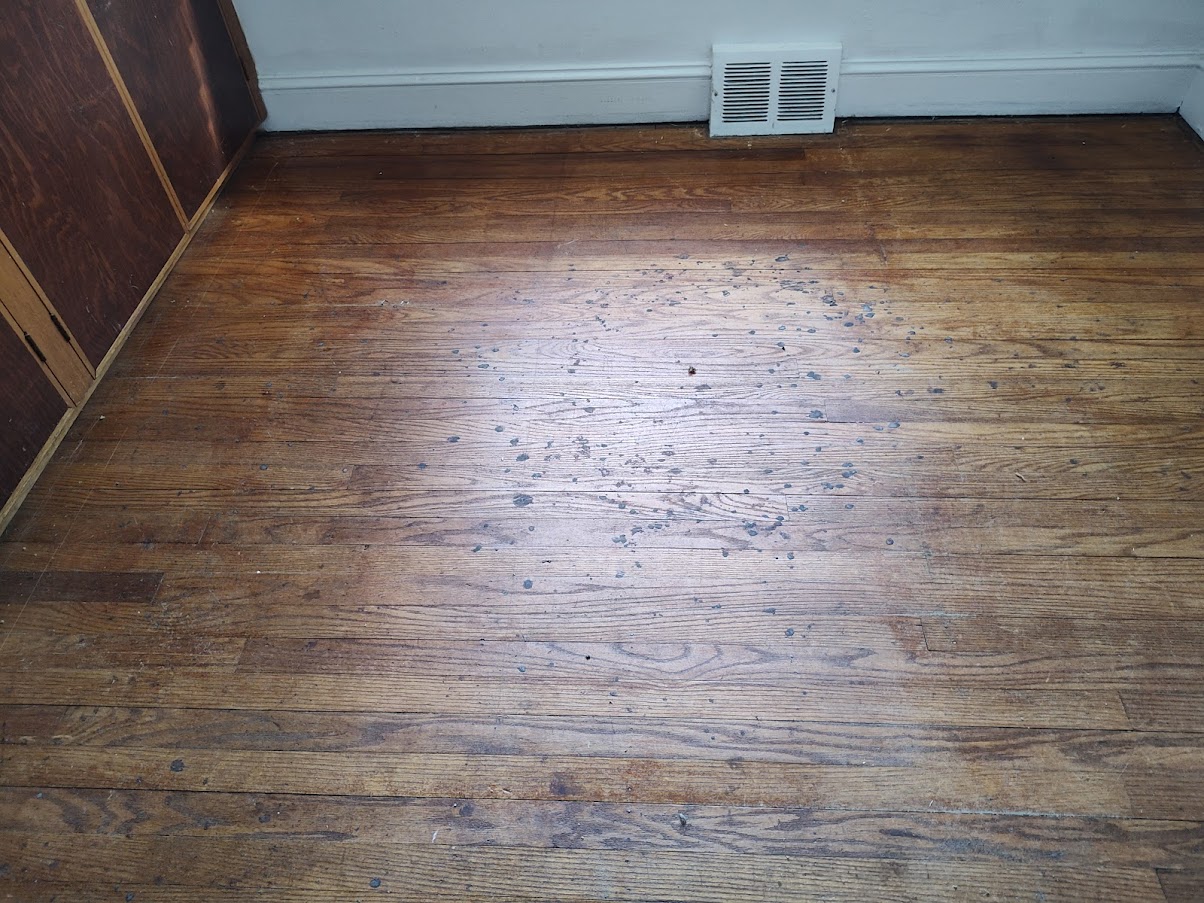 The red oak floor is old & tired, there are 2 pet spots and junk from the carpet pad, this floor needs help
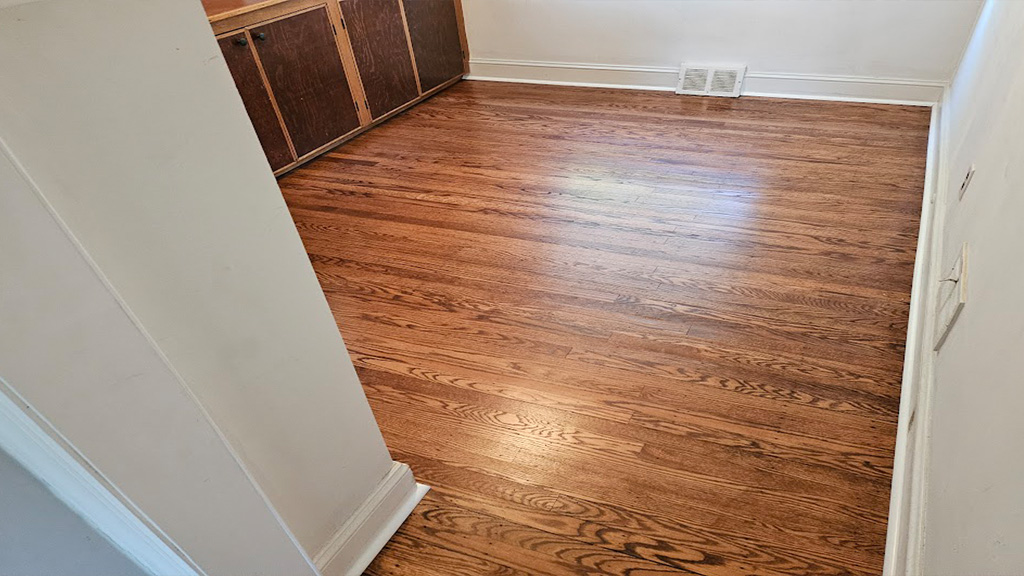 The office no longer has pet stains, and it is clean, and looking good once more
 Client is in love with how the floors came out
 This is quite a transformation, the floors are proud once again
- Location: Haddon Township, NJ
-
Job:
Fixing blemishes while refinishing hardwood floors in buyer's new home
Refinishing Wood Adds Up!
The problem
Young couple just bought their first house and wanted to have the hardwood floors fixed, sanded and refinished. With the entire house being hardwood, they wanted to prioritize the first floor before they moved in. Having plenty of things on their ‘To-Do” list, hardwood floor refinishing was a major priority. (Eventually they would continue and refinish the stairs and second level, but that would wait for now.)
Being a vintag3 50’s-60’s floor, these floors had a lot going on. Some things fixable and repairable, others not (with the work requested).
Of major concern was repairing the obvious damaged boards, then sanding and refinishing to change the color and clean them up to make them look good. However, what had to be let go were the creaks and multiple squeaks, as well as some waviness in the floor.
Cleaning things up, making the floors look fresh and refinished was their wish, and our directive.
The challenges
- All over the floors “sang” when walking on them, creaking with nearly every step. Fixing the squeaks would take a month of Sundays and was not included in what we proposed to do
- There were boards to fix and replace, especially in the hall and dining room
- A last sanding for this floor that would remove more surface material, each nail in the ‘top nailed’ floor would need to be set back deeper in every nail hole before the sanding could begin
- Our client preferred to try to change the color to match the front door, a favorite part of the architecture that came with the house
- Cleaning up the discoloration (probable pet urine spots) in the room off the hallway, that’s the office
- Tidying up old ratty and disheveled appearance overall
- Removing the old, damaged finish and replacing it with a newer subtler sheen look
- Changing the color of the stain and refinishing the floors to a trendier more modern appearance
Their decision
Doing the math added up for them, they approved the work. Compared to shelling out thousands in new hardwood flooring, this was delightful news. Refinishing the wood gave them options. Now, instead that money could be put forth in other areas like remodeling a bathroom (a wish list item). Then in the future they could continue refinishing more of the wood in the house. On deck in the future, they planned to re-do the stairs and upstairs.
The results
The repairs went well, and the ratty looking appearance dramatically cleared up. Gaps and such were fixed by removing and replacing a few boards. Overall it looked better, but the squeaky noises and the bellying in some areas were beyond what the scope of this refinishing addressed.
As for the updated appearance, our client was thrilled we could get the color of the floor to more closely match that of her front door. The door with some distinct trim was the focal point she “a-doored”, so matching it knocked it out of the park for her. All in all the floors have a more modern clean look to them. It is now inviting and waiting for their new furniture and them to move in.
Frankly for them, the ‘wow factor’ completely adds up for them- they are happy campers who can’t wait to move in!
Some words and feedback our clients shared with us when we were done: ” I am amazed at how awesome the floors turned out! This looks like a whole new house to me. Now with some new paint and getting our furniture in here, I can’t wait to see it then. I am stunned at the way our house looks now!”
Have older hardwood floors? A consultation will answer if they need replacing, or whether they can withstand refinishing. Either solution we can help you, they are both our specialty! Free estimates! Call 609.953.0472. Or Contact Us online and we’ll reach out!