

Termite, Knife Marks and Pet Spots Fixed on Hardwood
- Home Case Studies Termite, Knife Marks and Pet Spots Fixed on Hardwood
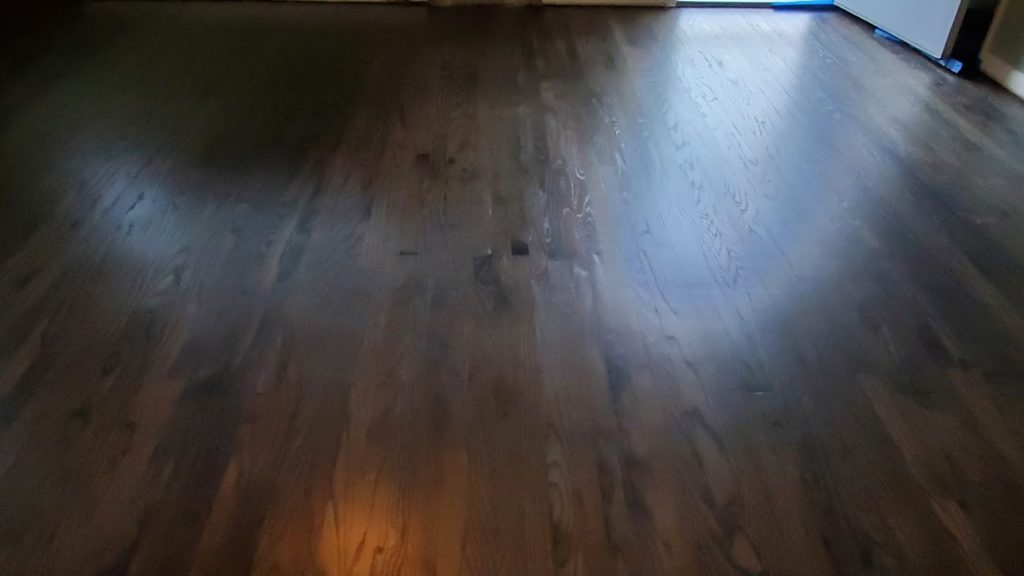 The Hardwood is stabilized and the floor is refinished
 Wood bleach is applied to lighten the pet urine dark spot
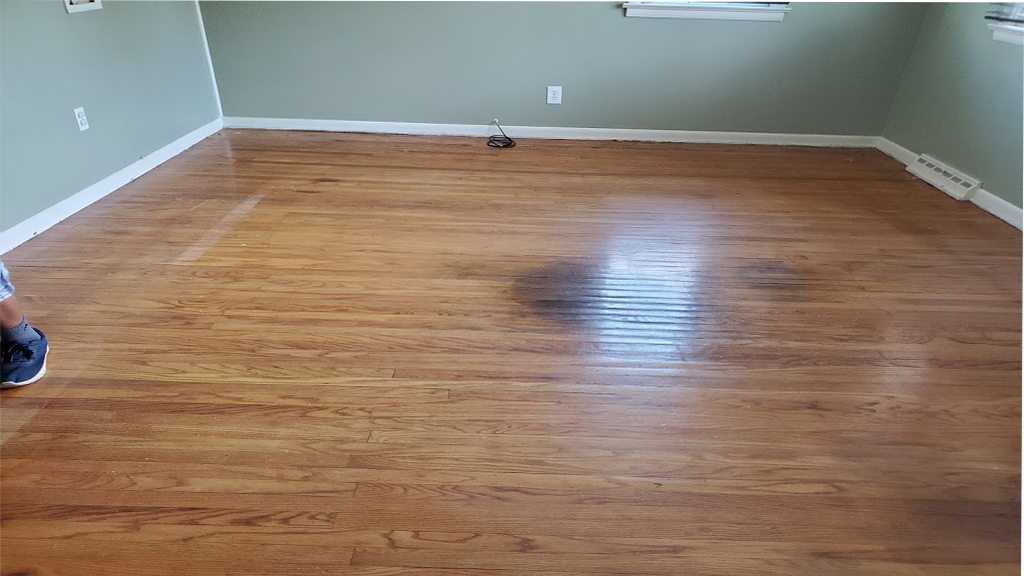 This is usually how pet urine damage appears on hardwood floors
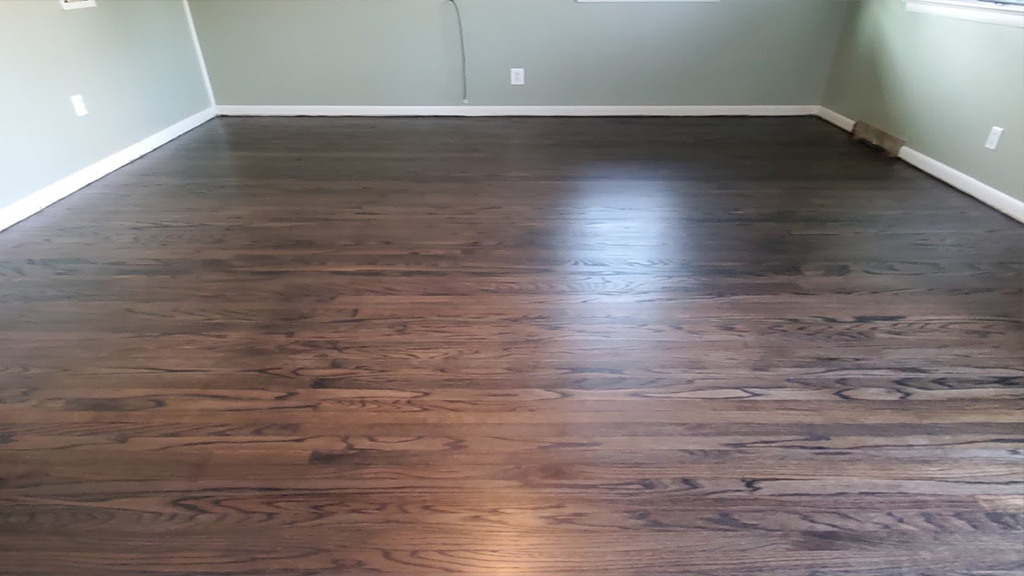 This Moorestown Hardwood Floor's pet stains will be repaired.
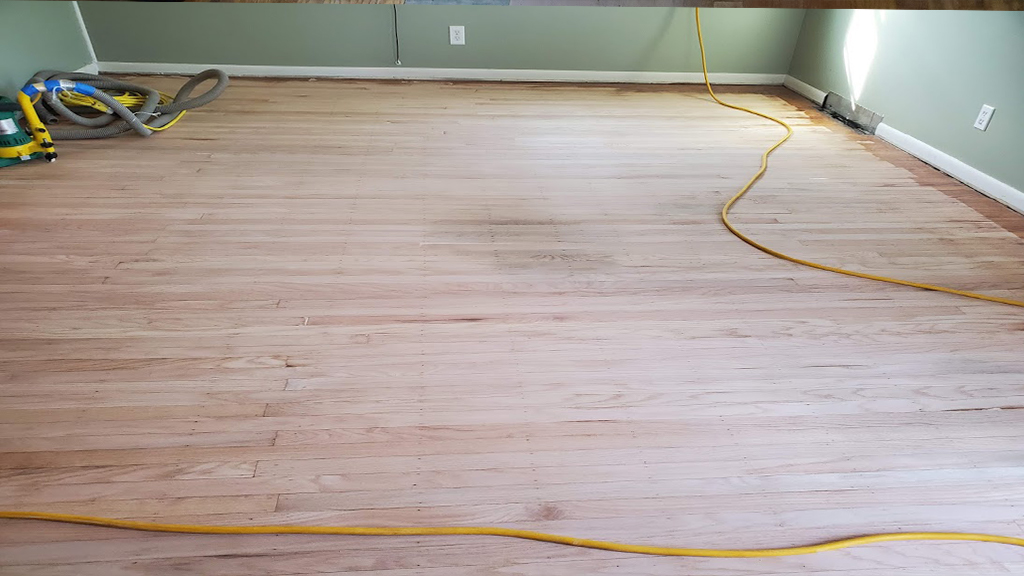 This urine damage will disappear when the dark color stain is applied
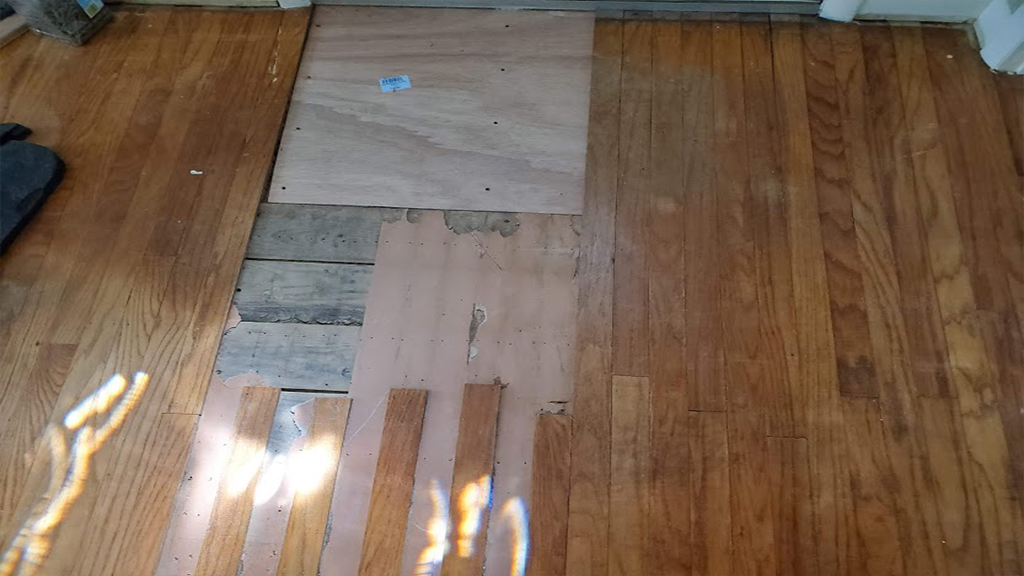 Here the termite damage was cut out, the subfloor was replaced and the boards will soon be replaced
 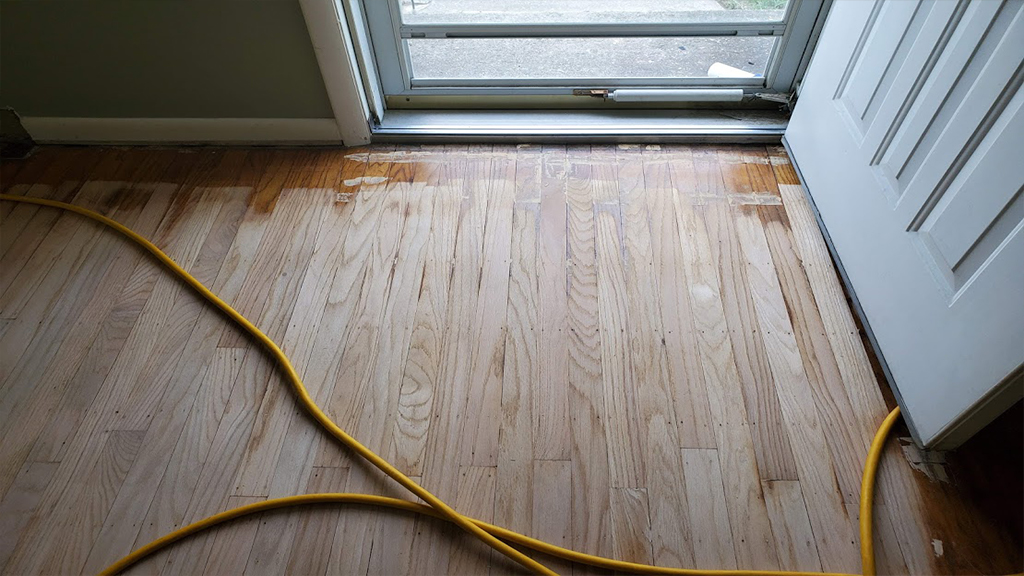 With the subfloor repaired the floor is ready to be sanded

Moorestown Rancher’s Hardwood is Hammered and in Need of Serious Help
It is always a surprise when clients want their carpets torn out and the hardwood floors underneath refinished. Carpet can hide a multitude of sins, and this project did not disappoint!
On a tight schedule to get the job done while the family was vacationing, the repairs were definitely a game changer. While we knew about the pet urine damage in the living room, we did not expect it in 2 of the bedrooms. And we weren’t happy to see the sheetrock knife damage in the hallway and bedroom. The transitions needed some work. But the worst problem was discovering old termite damage at the front door entry. Not only were the boards damaged, the sub floor was damaged. There was nothing to support the boards and it was very unstable. Considered what the industry refers to as “trampolining,” the floor was soft and squishy when you stood on it.
The Termite Repair Was First Up
With no signs of live infestation we set about to remove the termite damage. Several of the boards were removed and some plywood was installed to stabilize the area. Doing so provides a surface to install the new hardwood floor material. With it “sured up” we wove in the boards to ready the floor for sanding. One problem fixed as we move to the next.
The Pet Spots Were Bleached to Lighten Them Prior To The Refinishing Stage
Pet spots are always a problem, because most of the time they are in the middle of the room. This of course was the case here. And because the urine penetrated deep in to the boards you rarely can sand below them without causing a divot or sanding below what is called the “wear layer.” The “wear layer” is the serviceable surface of the board.
And the way we fix them to some extent depends on what finish the homeowners choose. If they prefer a darker look (that is a popular trend right now) chances are the spots can be bleached to lighten them, then covered with the dark stain where they will disappear. But if the homeowner prefers a light stain, or wants the floor to look “natural” (has no stain), well that is a different story. (for this client they wanted a darker look, so it was a no-brainer.)
Most likely the urine will not bleach out enough for either of the lighter choices. So board replacement would be the better course of action. When boards are replaced you have to source similar boards and take all the boards out that are affected. So one small urine spot can involve 2, 3 or 4 boards. Multiply that if there is significant damage.
Unfortunately if the pet urine problem is severe it becomes more cost effective to replace the entire area. Therefore either the client may have to settle for the darker option, or face a complete tear out.
The Knife Damage Was Cleaned Up and Flush Transitions Were Installed To Tidy Up The Hallways And Doors To The Bedrooms
Clearly inserting a flush transition to the entrance to the hall would work well to clean up the sheetrock knife cuts across the hallway. And recessing transitions in the bedroom doorways also tidied things up nicely. The kitchen transition was cleaned up as well. So with those issues off the list we are ready to start the finishing process. For more on Custom HVAC Flush Vent and transitions Click ⇒ See How Flush Vent Covers Are a Nice Upgrade For Your Hardwood Floors
With The Repairs Done, The Stain Selected, Now It’s Time To Fire Up The Sanders
The sanding went well and we were able to speed things along, although with every darker stain job more careful attention is given tot he sanding. The darker the stain the more it will magnify blemishes in the sanding. But even that went off without a hitch.
Now for The Finish Line
With the stain down we jumped back on the next day to check the blending. Sometimes we have to massage more stain on or touch up areas to blend everything before coating. This is the time to “tweak” any items because once we begin to coat we are stuck with any discrepancies or blemishes. Again, all was good.
The first coat goes down to seal the color in. Then 2 coats of the finish go on at full strength. We prefer to use Vermont Natural Coatings “PolyWhey” water based finish. This finish product is an excellent finish that does not have nasty chemicals and Voc’s. It performs excellently and holds up well to traffic. Again all went well, and we were about done.
Finishing Touches Begin As We Installed New Trim
The last of the refinishing tasks is to either install new trim or re-install the trim that we took off. So for this particular job the client decided on new trim. We purchased it, measured, cut it, and finished with custom returns, working around the room then moving to the next one. Simultaneously while cutting that he also shot it in with finish nails. Then his helper would putty and caulk the seams for the finished product.
Another Beautiful Floor, and More Over The Moon Happy Customers
With the work complete all we needed to do was to reinstall the doors, tidy up a bit, go over the exit instructions with the customer, give them the free gifts we give to them and go on our merry way!