Marble Damage from Wrong Cleaning Products
- Home Case Studies Marble Damage from Wrong Cleaning Products
- Location: Jackson, NJ
-
Info :
Etched damages marble restored, polished again
Marble Damage Caused By Acidic Cleaning Products Used On The Grout Joints
Thinking a cleaner he used worked well on his porcelain kitchen floor, this owner-contractor decided to use it to clean the grout lines on his marble floor too! (MISTAKE!)
My thoughts, as I listened to him telling me what he did, he shouldn’t have done that! I can’t tell you how many times people get into trouble with their marble and stone surfaces when they mistakenly use acid cleaners to clean their floors and grout. This situation is no different.
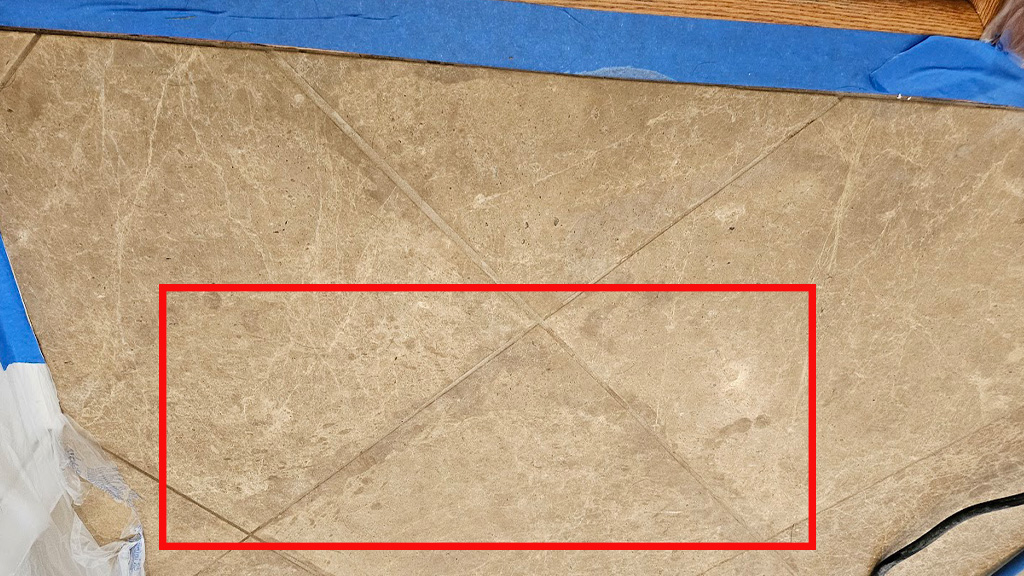
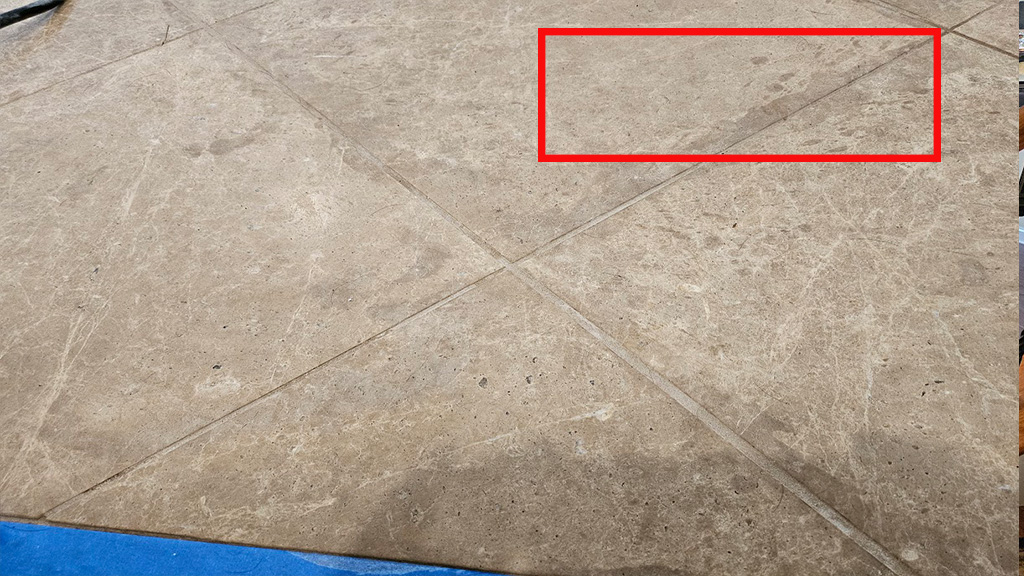
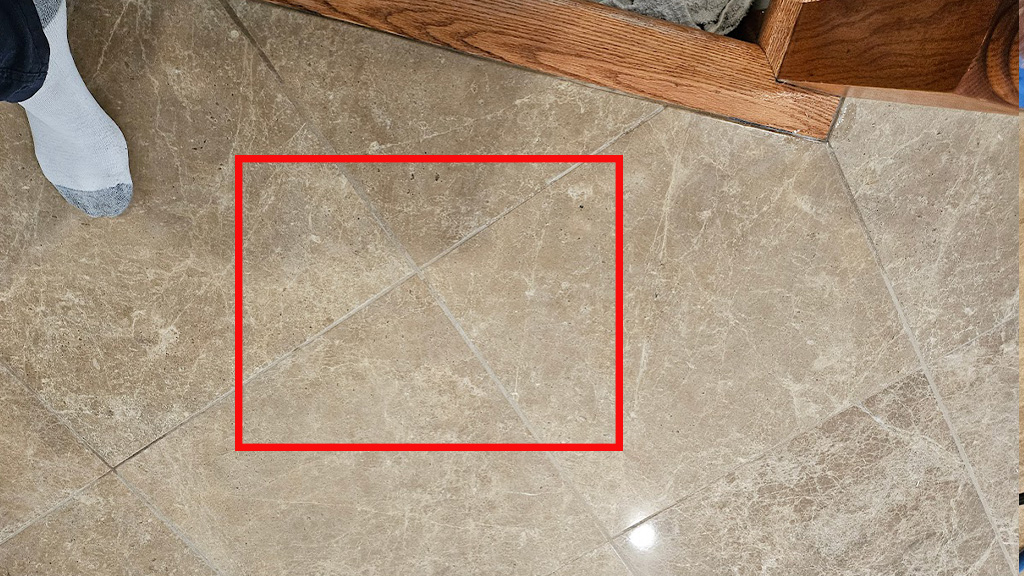
Unfortunately, he called in a panic after using the cleaner. It left unsightly grout marks which bled into the stone.
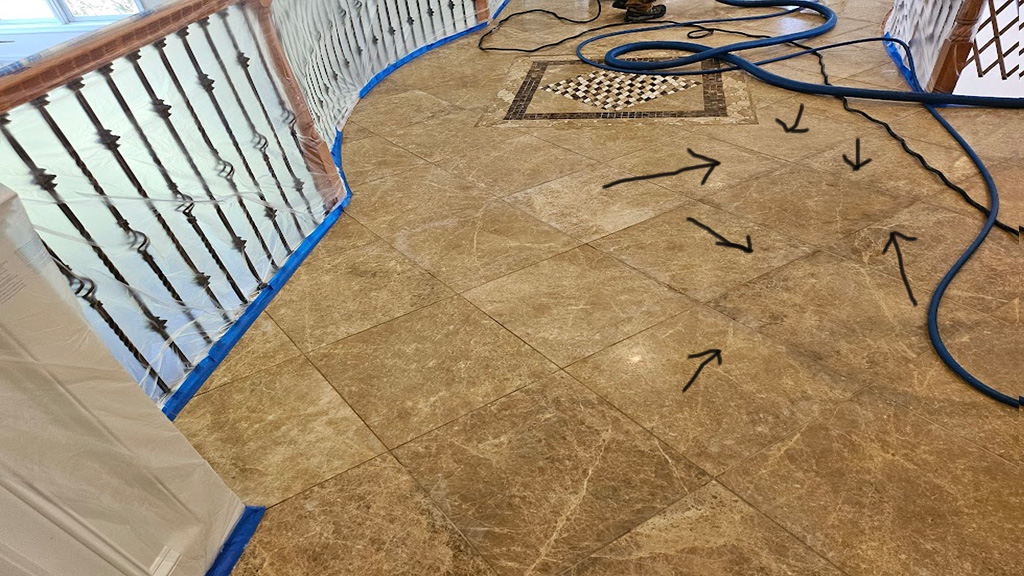
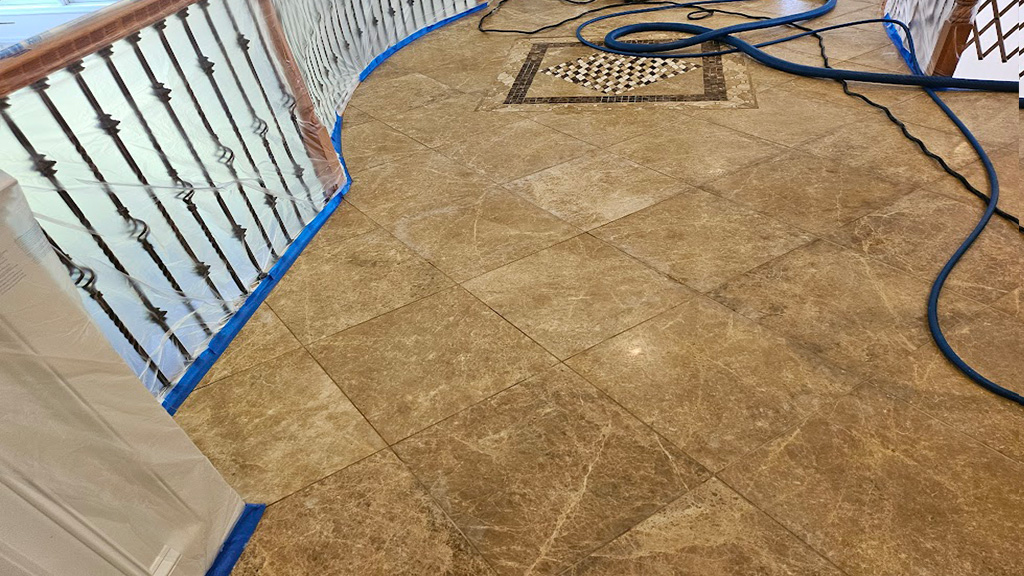
Although cleaning just the grout, it actually seeped into and etched the stone along the edges. So it left a dissimilar darkening. It was almost as if the contractor over applied the grout, leaving it messy. In industry speak it looked like the contractor “over-buttered” the grout joints, aka, a rookie mistake!
Instead what was a crisp grout joint now stuck out like a sore thumb!
The Home Situation
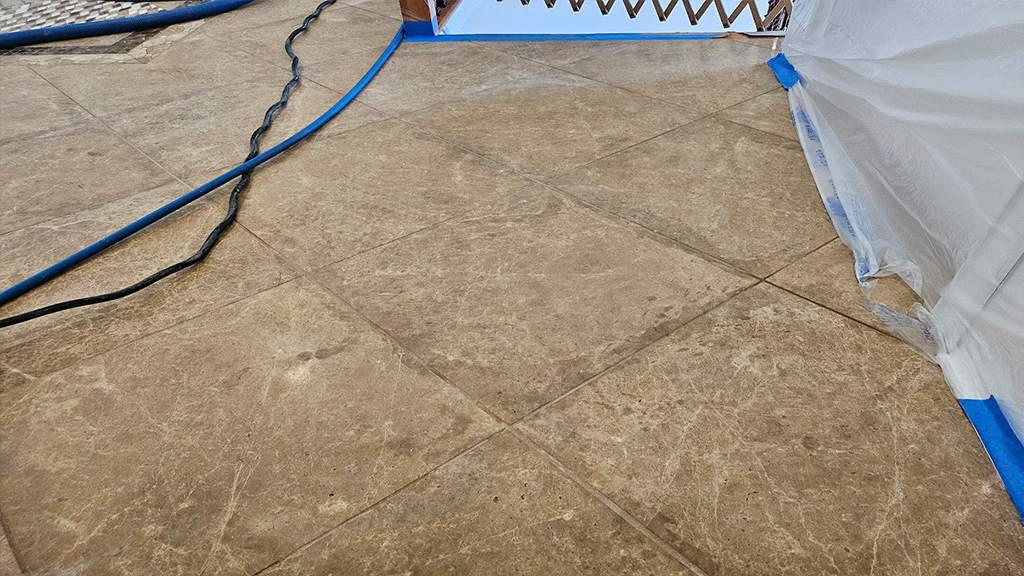
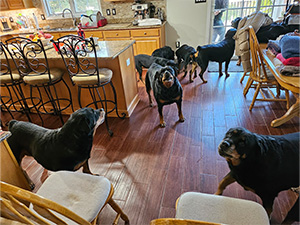
This homeowner and loving breeder of Rottweilers has 8 of them living in the home. Beside breeding and showing them they also have movie and tv credits that are impressive . And while it was fun to help this owner, we had to maneuver very carefully, being escorted in and assisted while not getting attacked along the way. Only thing separating them was a small baby gate and 2 chairs (pictured left).
The Problem
The dogs lovingly have the run of the house. This means they commonly can be found laying comfortably on the marble balcony area. The marble, a cool spot overlooking the family room atop the stairs is just the right spot!
The trouble is the oil from their coats discolors the grout lines between the marble tiles.
So our client, not shying away from a cleaning project took it upon himself to try and clean the grout joints. He has a favorite cleaning product he loves because it works great on many things. But, he didn’t realize the high acidity of it would burn, or etch (if you will) the marble tiles. Although he was cleaning the grout lines the solution infected the marble tiles when he applied it.
Commonly these things will cause the etching:
- Vinegar
- Highly acidic common household cleaners
The Work
The client, admitting his mistake knew he needed professional stone restoration to correct the problem. After conversations back and forth we were hired to do the job. We described what would need to be done, as follows:
- Determine the depth of the etching (or penetration of the damage if you will)
- De-lip the uneven edges between tiles as needed
- Diamond grind and rinse between grit passes of resins and or diamond encrusted pads
- Rinsing of the stone surface between each grit pass
- Polish with a lux pad
Now as we got started Chris tested for the appropriate grit that would ‘get below” the etch mark. Etching is removal of the polished area that looks kind’a like a burn or scar. Another way described, it had to be wet sanded to remove the damaged layer entirely to fix it. Working pads in a rough to fine sequence this is not a do it yourself job. Then after removing the damaged layer Chris could rinse and polish the stone back to a brilliant shine.
Before removing the etch marks, Chris first had to de-lip areas in the floor that were uneven.
Lippage is an installation problem where one tile can be higher than the next one. Although subtle to the owner, it gave our floor machines a fit, and the guys too (holding on to a bouncing machine applying pressure to reverse the torque as the machine wanted to do its own thing!) As a result Chris was forced to use different pads designed to address the lippage issue first.
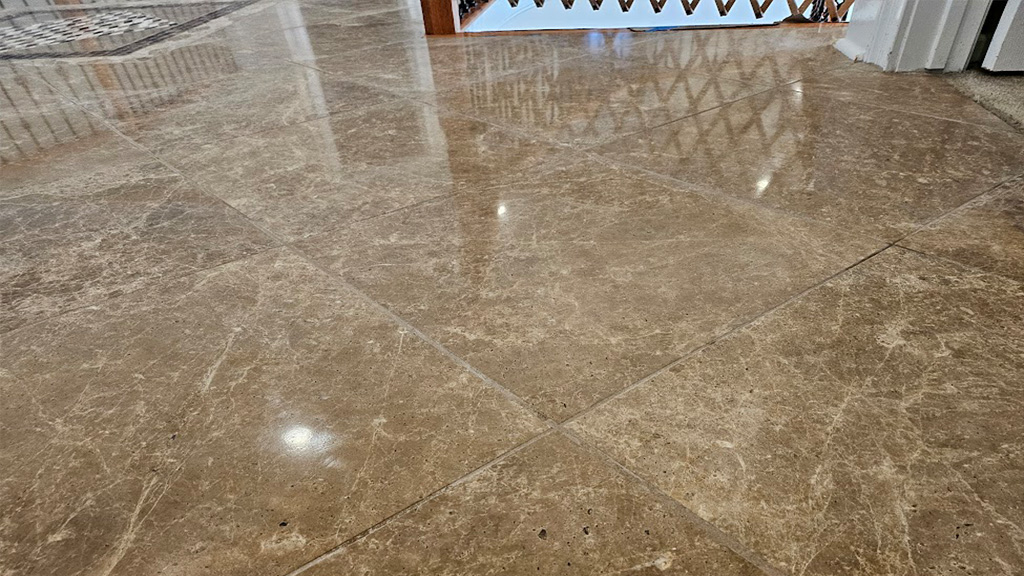
After a long hard vibration slog of a day’s hard work of grinding, he got the floor under control. He lessoned the lippage and removed the etch marks. Finally Chris repolished the marble back to its brilliance minus the etch marks!
The results
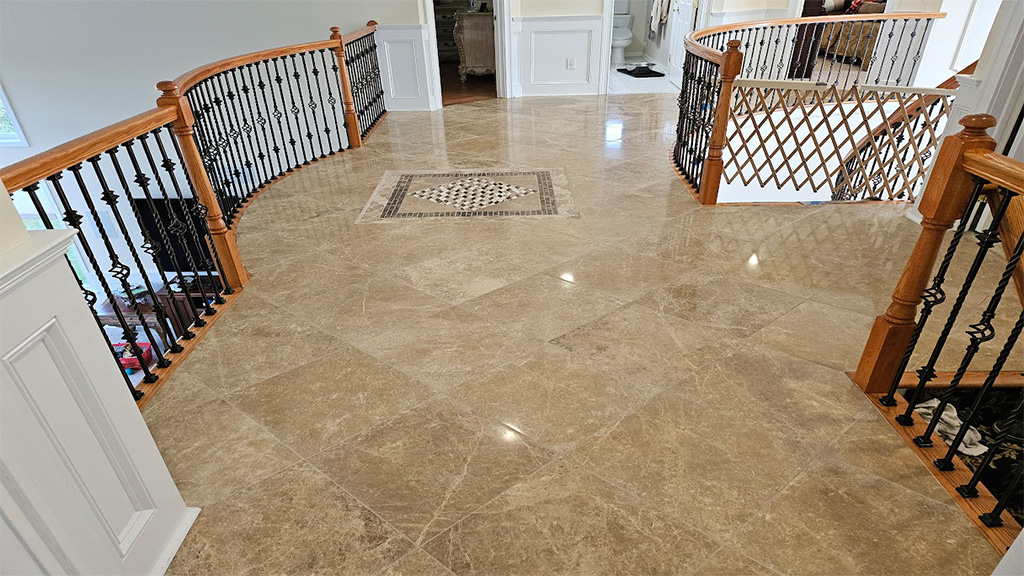
The etching is corrected and the marble looks brilliant and polished again. The grout joints look clean and crisp as they should. No more ‘gobbily goop’ along the edges that looked wonky! So overall the floor is back in shape.
All but a couple of spots in the corner were corrected. The lingering problem area is where the solution followed the grout joint against the wall. The solution was left on to soak in and damage that area too. But our machine, a heavy weighted floor buffer will not fit smack up against the wall, so that is something they will probably have to live with.
All in all the floor was rescued. The client is happy. And he now intends to us every six months to clean his grout, clean, seal and polish his marble.


