Pet Odor Is Removed While Hardwood Floors Get An Island Vibe Update
- Home Case Studies Pet Odor Is Removed While Hardwood Floors Get An Island Vibe Update
New owner notices she smells pet odor emitting from her hardwood in her living room and hall.
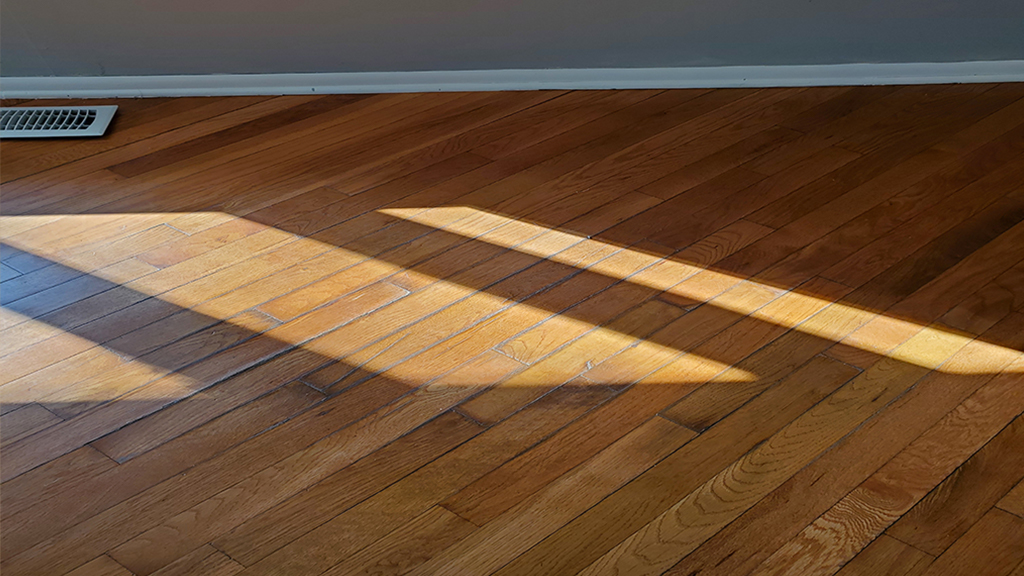
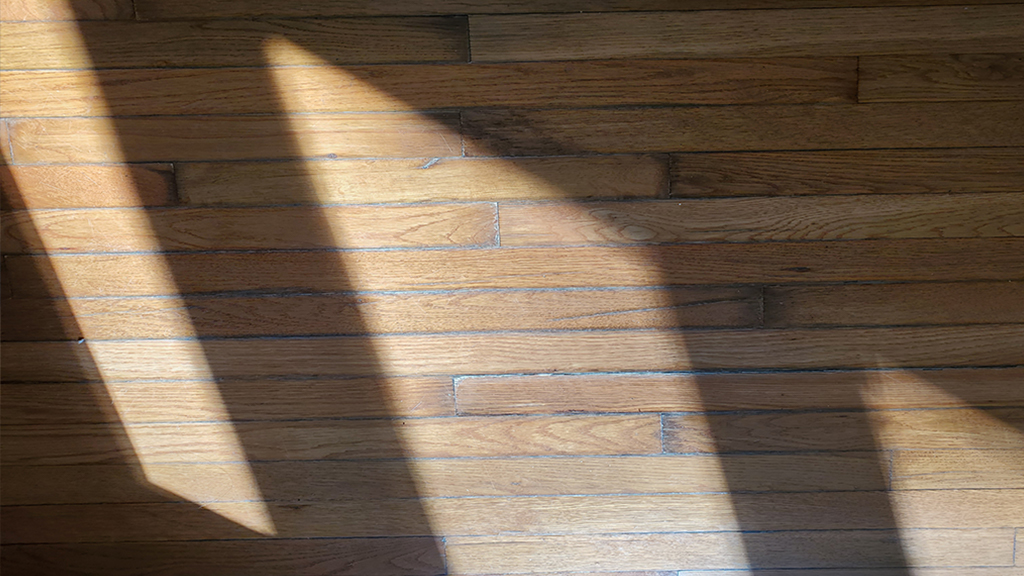
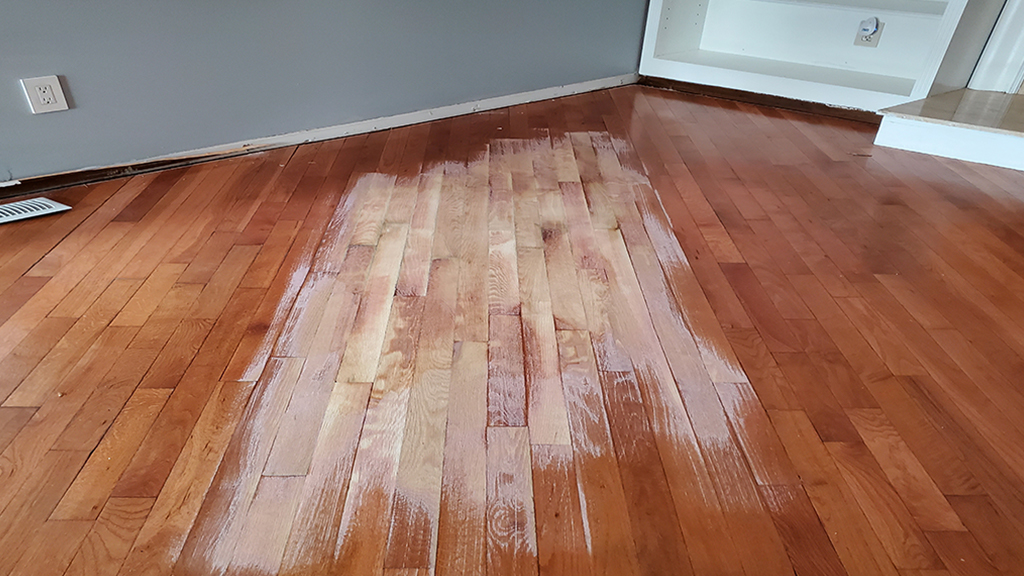
Were it not for the smell that made her nauseous, this couple probably could have lived with the hardwood floors as is. But upon closer look you could see evidence of pet urine damage, and for her the smell that was quite noticeable. Now the damage in the living room was subtle, but it was there—failing finish around the perimeter of the boards. However, the damage and smell in the hallway and in to the laundry room was more obvious, and something had to be done. Not so subtle, you could see the (black) impact of the urine on the wood floor boards, and you could see the damage on the door trim from the gate used to keep the dog in the laundry room.
The Problem
Realizing that refinishing the hardwood floors was necessary, they wanted guarantee that the odor would be removed. So a careful inspection ensued to identify the location of the urine smell and options for its removal as the refinishing would take place.
When this is the case the usual recommendation is to replace the boards with new ones, to remove the source of the smell. And most of the time when boards are pet odor affected, they appear dark black, usually in round puddles or along the wall. And typically, when you see them decisions often have to be made. For the record, when the boards are black the odor is likely saturated deep into the board, and you can’t sand below it. Secondly, if you are wanting to save a pet affected urine damage area, you may well be limited and needing to have to use a darker stain, so the residual color of the pet urine is camouflaged and absorbed into the new color. Click on >(See How Dark Pet Stains Are Hidden With Darker Stained Floors.)
But this pet damage was not deep routed, and we were confident we could save the existing boards. The damage seemed superficial, and if sanded and bleached, we were also confident we could eliminate the odor without having to replace the boards.
This caribbean couple gets excited as their hardwood will be refinished with a little “island vibe”.
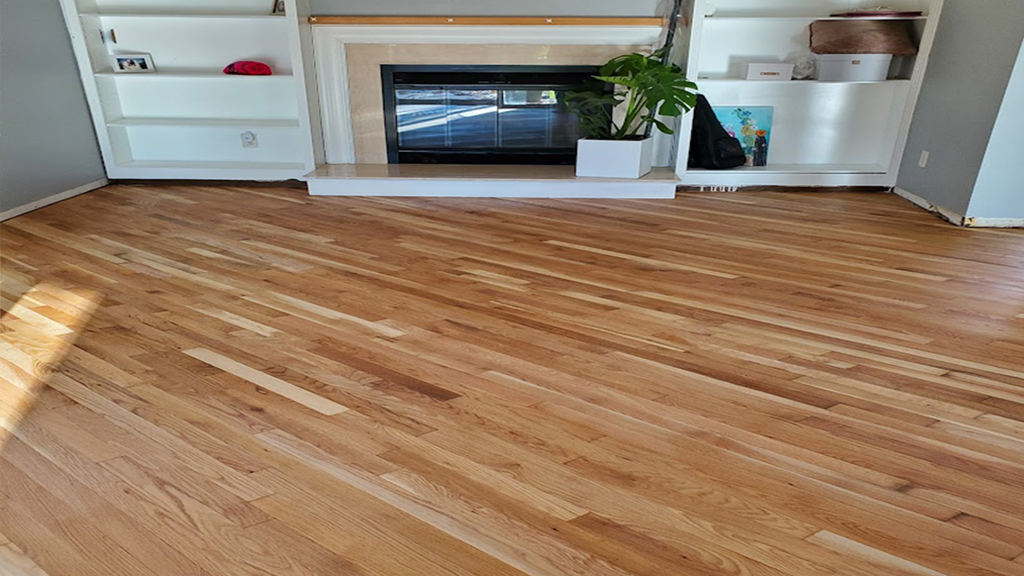
Secondly, as it turns out, we were able to offer them the option of a lighter color stain, which in this case would reveal a variation in color of the boards. Wanting a light, airy look, they aimed to combine a Caribbean color palate, with large potted ferns, macramé and thick natural area rugs, contemporary textures and décor accented with beautiful artwork done by the homeowner.
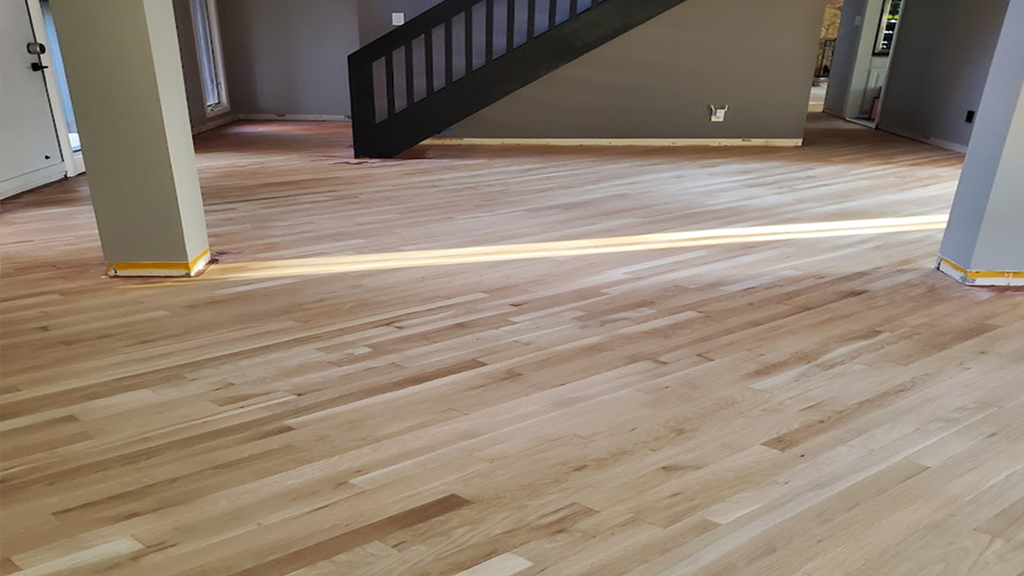
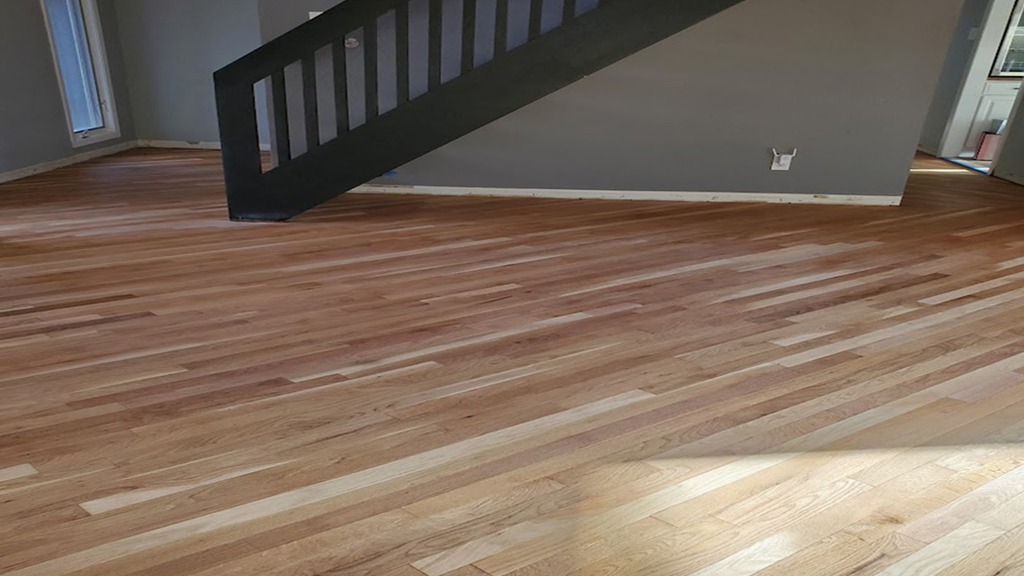
With the goal identified, we had to have a discussion about how the hardwood would stain up and look like after it is sanded. As was typical for the times, many manufacturer’s milled and prefinished hardwood boards, mixing red and white oak together, which usually stain up and appear differently when done. They could “cheat” the process because of a sophisticated curing process that results in a uniform color despite species variation in the boards used. This was done for sourcing and budgetary reasons, as supply was becoming an issue.
Homeowners Are Offered More Upgrades and Attention To Detail
As is common when we address a hardwood floor refinishing project, we are always assessing what is missing, as in trim, transitions, and what upgrades we can offer. For example, are the transitions appropriate? Do they cover properly, are they too high and perhaps a trip hazard? Are pieces missing, or are there gaps? And should new accoutrements be offered, like recessed HVAC Vent covers (with dampers,) that are clearly a refinement, part of the floor and less prone to breakage (overall they are clearly an upgrade.) Click on> See How Flush Vent Covers Are a Nice Upgrade For Your Hardwood Floors .
Lastly, in this case, the homeowners wanted new trim that was more contemporary, and a closer match to the window and door casings. The existing casing trim is called “sanitary,” and delightedly we were able to find and install sanitary baseboard quarter round trim to match.
A cut Above, these folks appreciated the extra tips we suggested!
Often hardwood floor refinishers just do the basics, refinishing the floors without offering the repairs or upgrades. But as is the case with use, we are always offering repairs and upgrades that result in craftsmanship to be admired by any true professional passionate about their work. At least giving the customer the opportunity to decide if they want the enhancements shows we care about our work, and also about their floors. And once presented, each customer can decide what is best for them!
Work begins with the repairs and vent upgrade begins along with the stain color selection
After some quick prep our technician set about sanding down the problem areas and applying a bleaching agent that will be left overnight to lighten the discoloration and deal with the odor. Simultaneously he set about removing the drop in vent covers, and cutting the frames in to insert the flush mount vents. And a few boards that had other blemishes were popped out and replaced.
Then the technician prepared some sample areas to apply the stain colors the homeowners preferred so they could see and decide which one was what they wanted. As always we encourage them, when possible, to look at the stain samples not only in the daylight, but also at night, so they can be extra sure they make the right choice (color can look different at night vs day, so it’s best to see and like it at all times before a selection is made.)
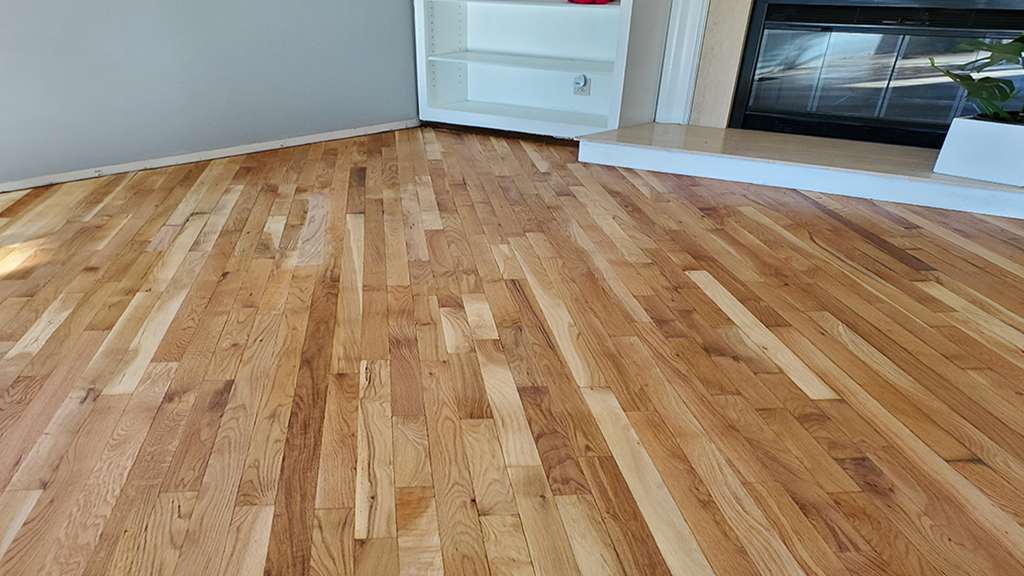
With the discussion of the color, it was pointed out that the variation of red oak vs white oak would remain after the stain application was applied, and they were asked if they were ok with the variation. In this case, they were fine with it.
One last test—the customer was asked whether the pet odor areas passed “the sniff test”
Once the pet odor areas were bleached for a day or so we asked our client to see if she smelled any residual pet odor. Happily, it was a resounding no! So we were able to continue with the refinishing process, without replacing what could have been several boards.
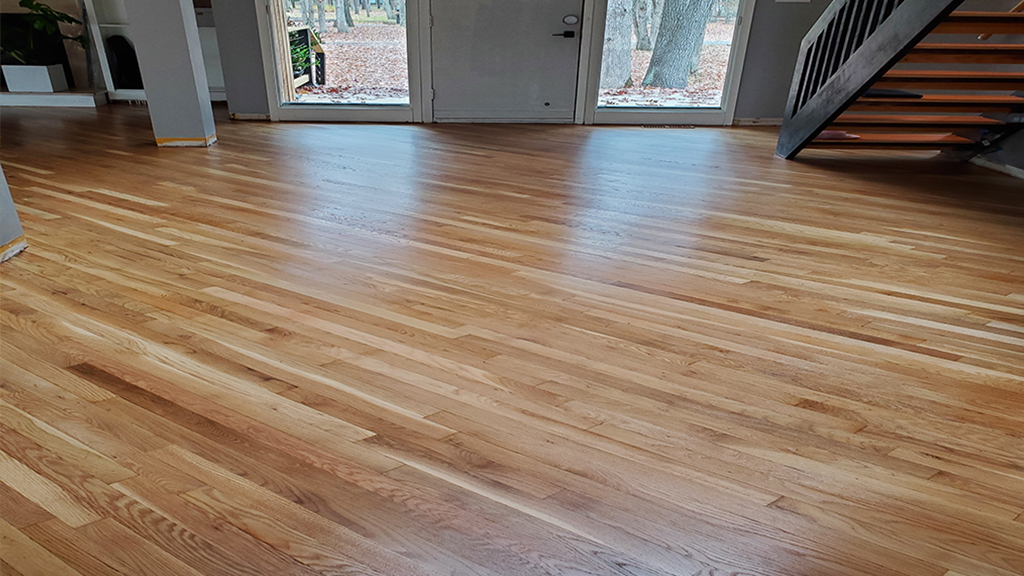
So with all details tended too, stain selected and repairs done, we could proceed with the sanding schedule and beyond. Once the stain was applied the clients became really excited with how the floors were coming out. A quick decision was made to go with a satin sheen level, and we were winding down the project. With everything looking good, the floors were done, and it was on replacing the trim, and a transition in front of the fireplace.
Excitedly the clients were thrilled with the floors, and they couldn’t wait for the new furniture to be delivered. Then adding the large palms in the foyer, the macramé door (made by a dear friend) and the customer’s art work, it indeed has become the island oasis they were hoping it to be!


